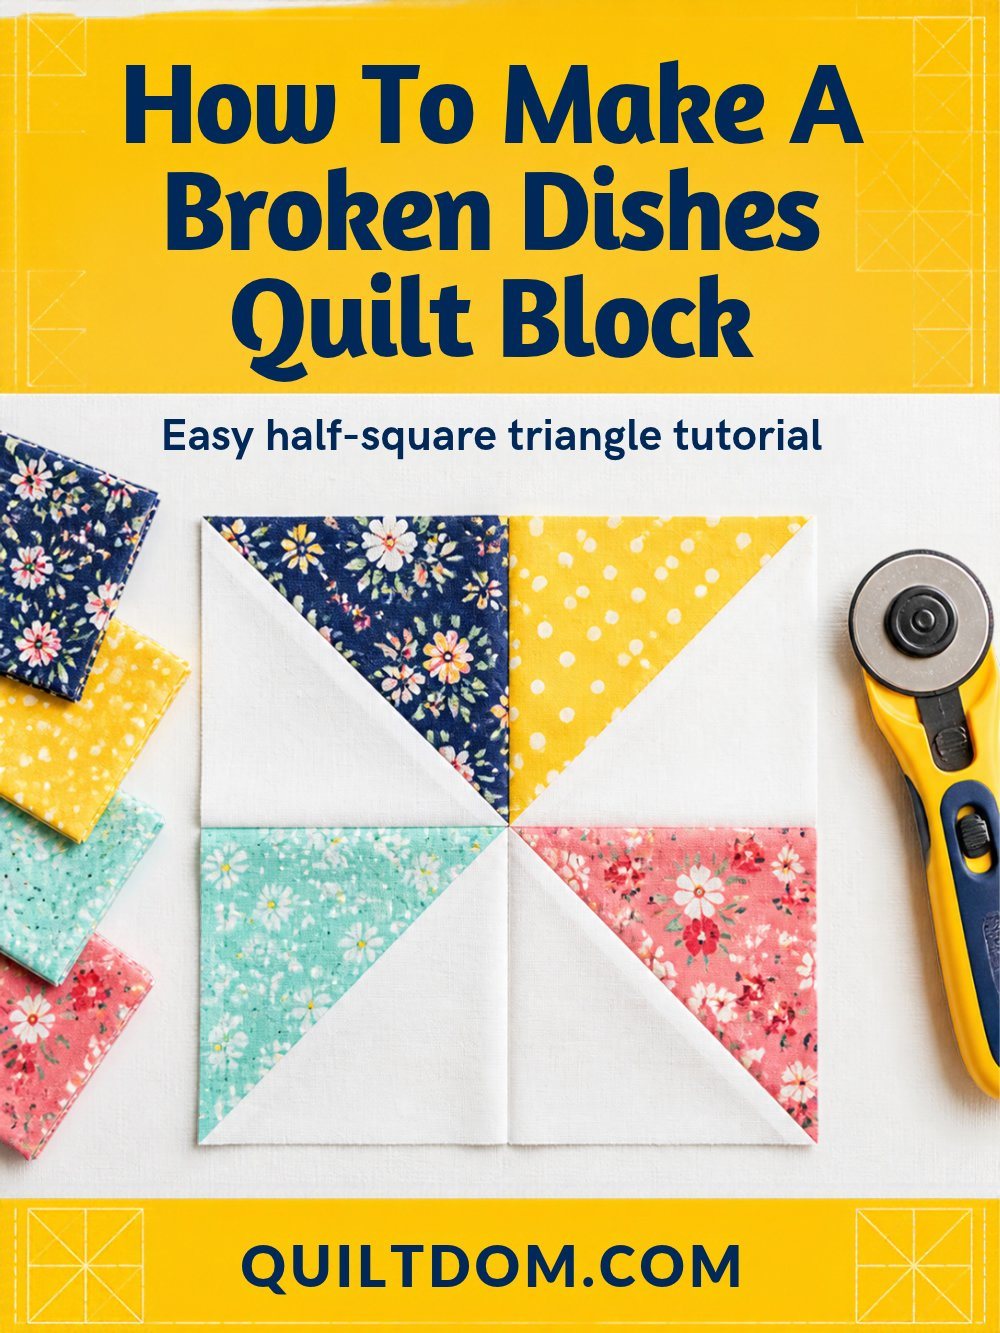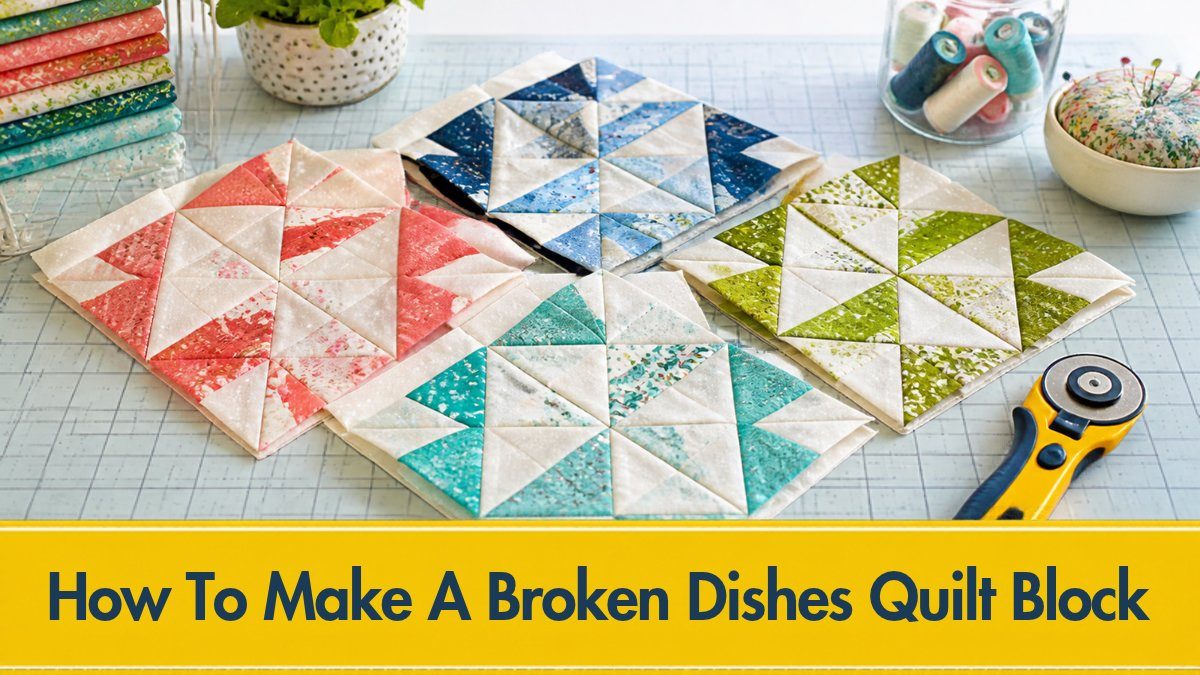
The broken dishes block is one of the oldest quilt blocks around, with examples dating back to the 1790s. It's also one of the easiest. If you can sew a half-square triangle, you can make this block.
In this tutorial, I'll show you how to make a big, bold broken dishes block using four 10" squares. You'll make two half-square triangles (HSTs) at a time, so it's fast and there's no fabric waste.
What Is a Broken Dishes Block?
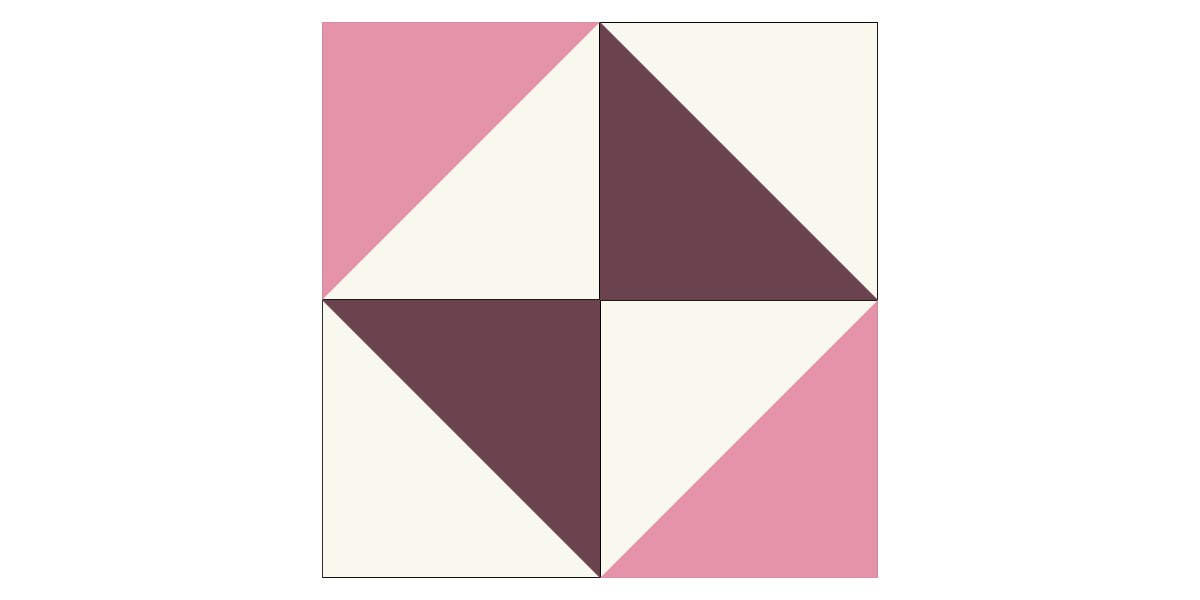
A broken dishes block is made of four half-square triangles arranged so the triangles all spin in the same direction. The pattern looks a bit like shards of a broken plate, which is how it got its name. It's a perfect scrap buster and works beautifully with precut 10" squares.
What You'll Need
- Four 10" squares (two light and two dark, or any two contrasting fabrics)
- Water-soluble or heat-erase marking pen
- Ruler and rotary cutter or scissors
- Sewing machine and iron
This makes one block that finishes at 18" square (18 1/2" unfinished).
How to Make a Broken Dishes Quilt Block
Step 1: Choose your fabrics
Pick four 10" squares. Precut layer cake squares save time, or you can cut them from yardage. Strong contrast between your lights and darks makes the triangles pop.
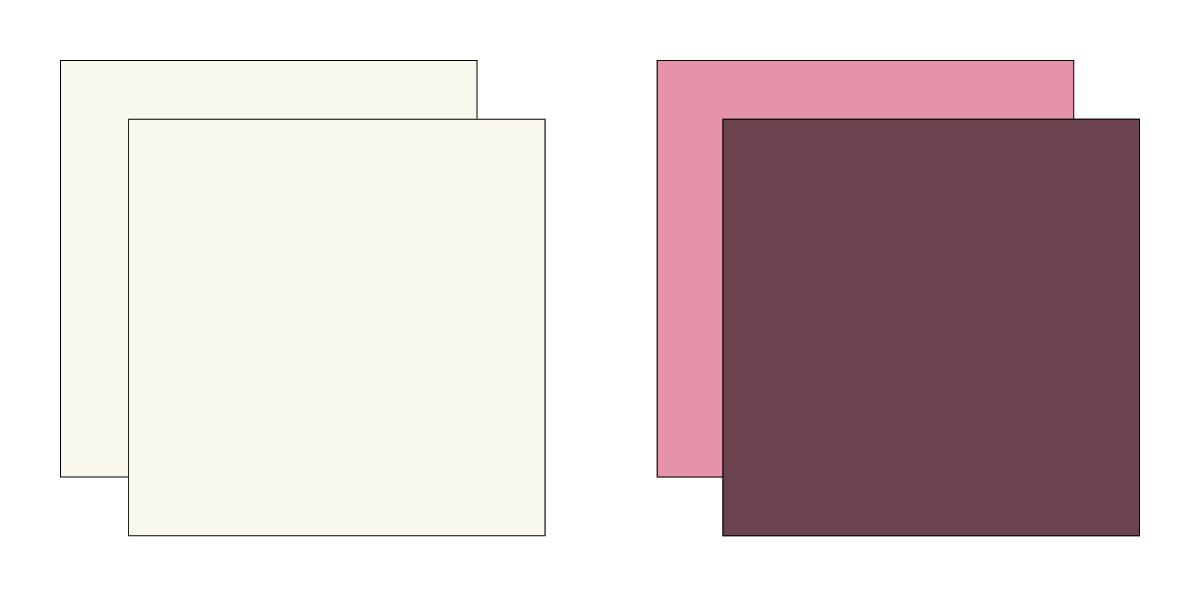
Step 2: Stack the squares
Make two stacks, each with one light and one dark square placed right sides together.
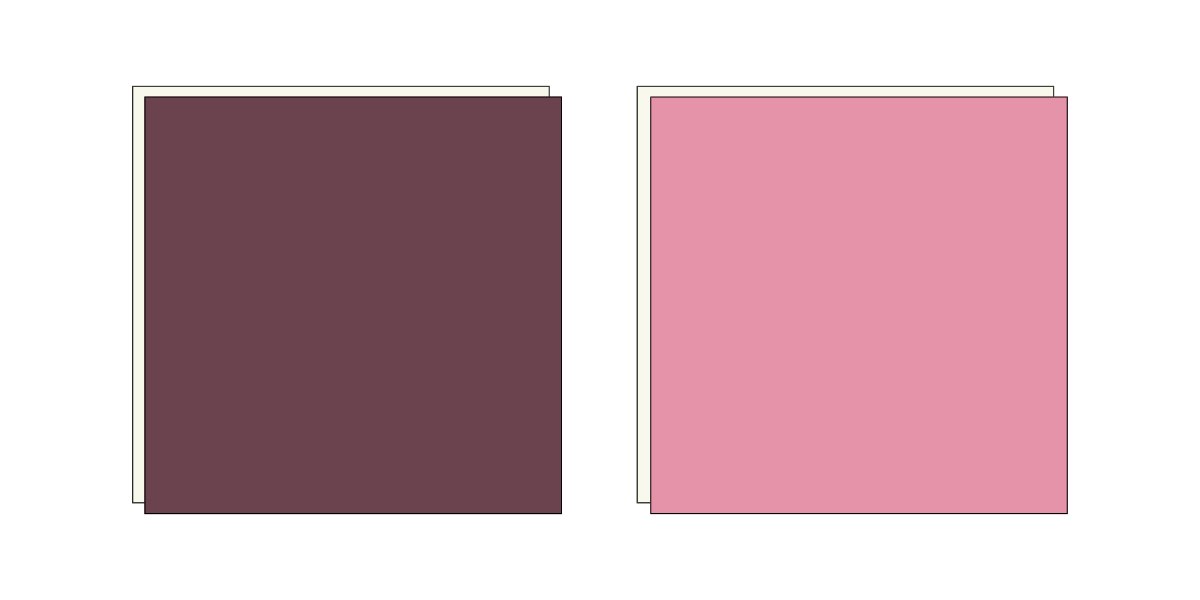
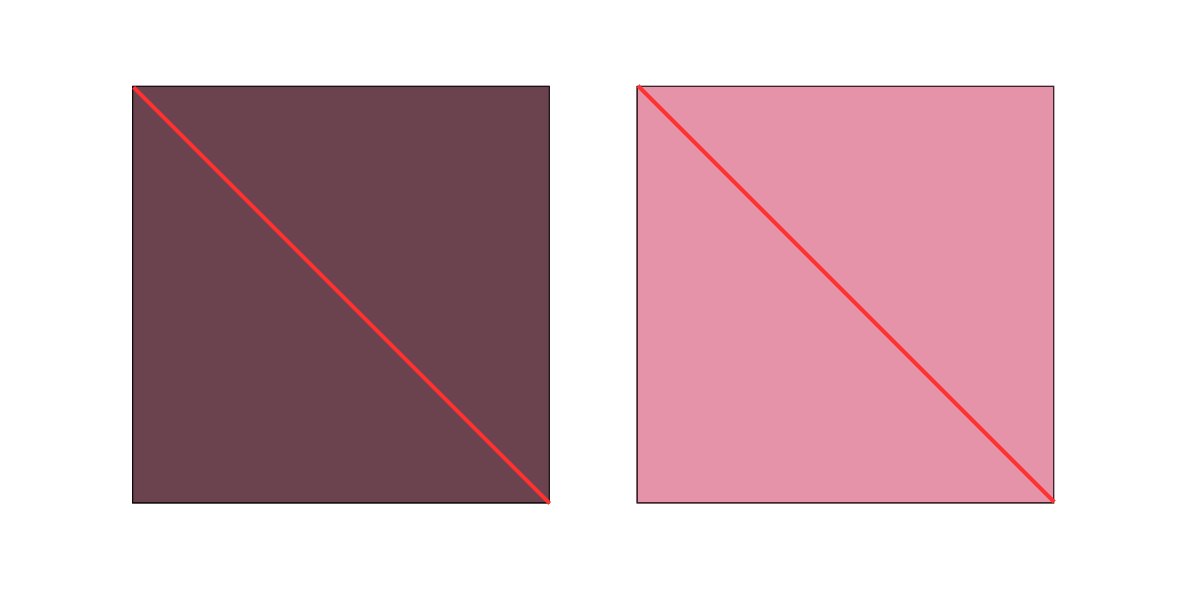
Step 3: Draw a diagonal line
Draw a line from corner to corner on the top square of each stack. This is your guideline.
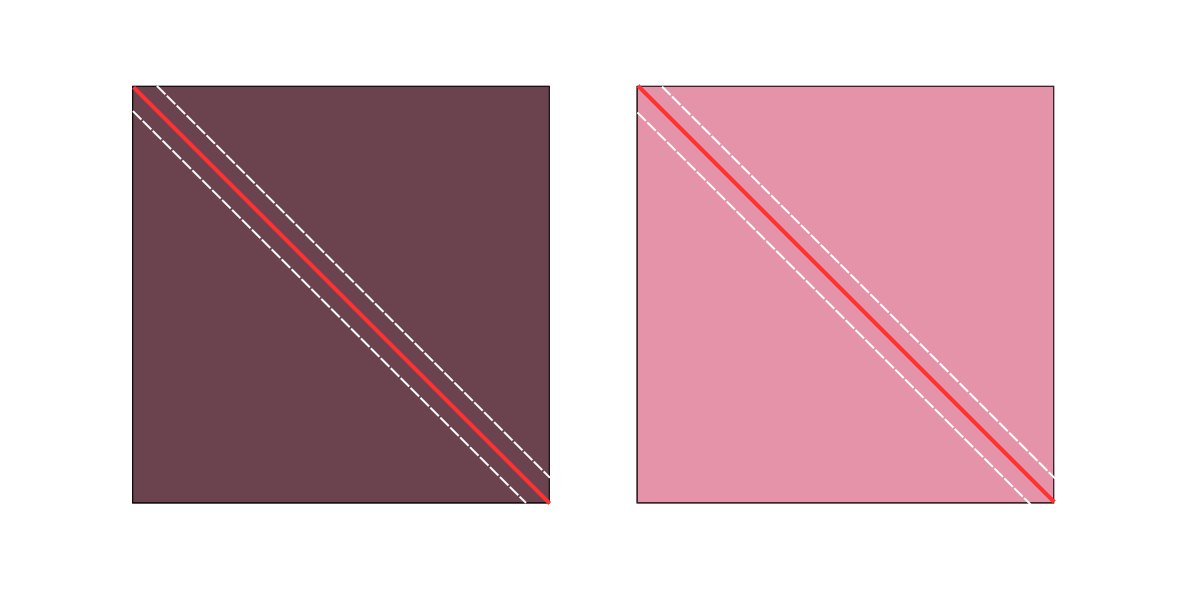
Step 4: Stitch 1/4" on both sides of the line
Sew a 1/4" seam on each side of the drawn line. Backstitch at the start and end of each line so the stitches don't come loose later.
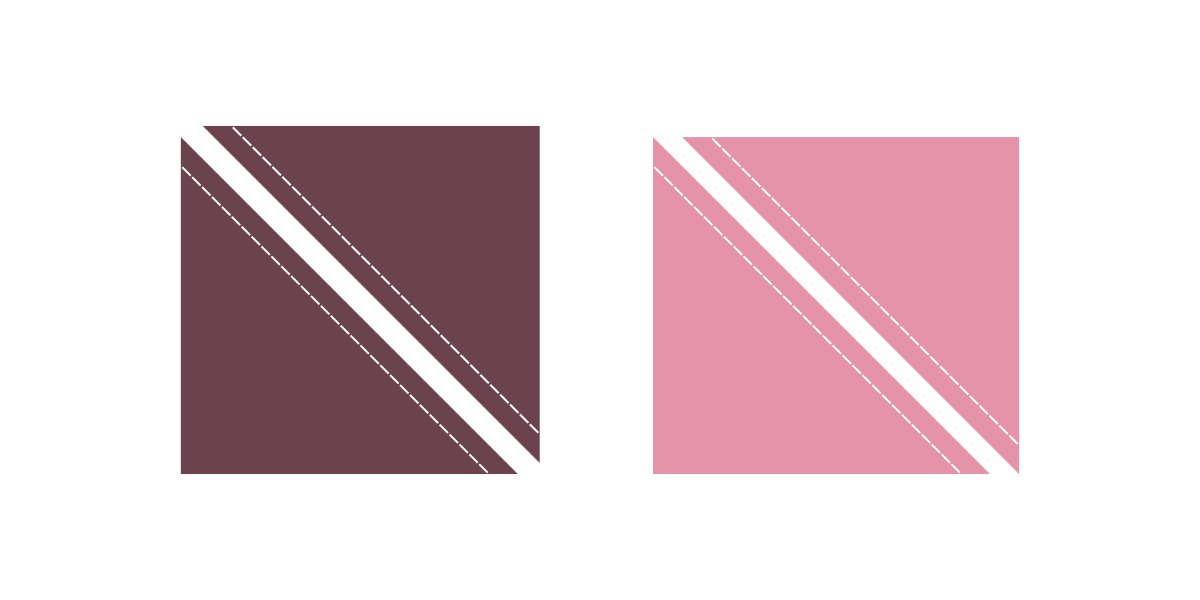
Step 5: Cut on the line
Cut along the drawn line with scissors or a rotary cutter. Each stack gives you two HSTs, so you'll have four in total.
Step 6: Press and trim
Open each HST and press the seam toward the darker fabric. Trim each one to 9 1/2" square so the block goes together accurately.
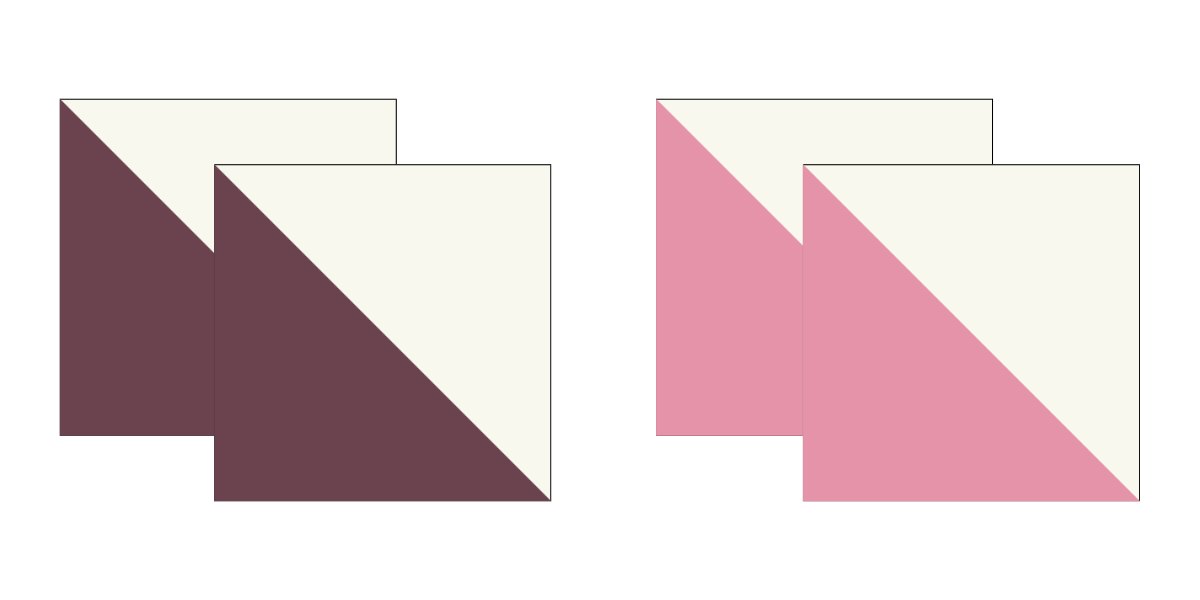
Step 7: Arrange the HSTs
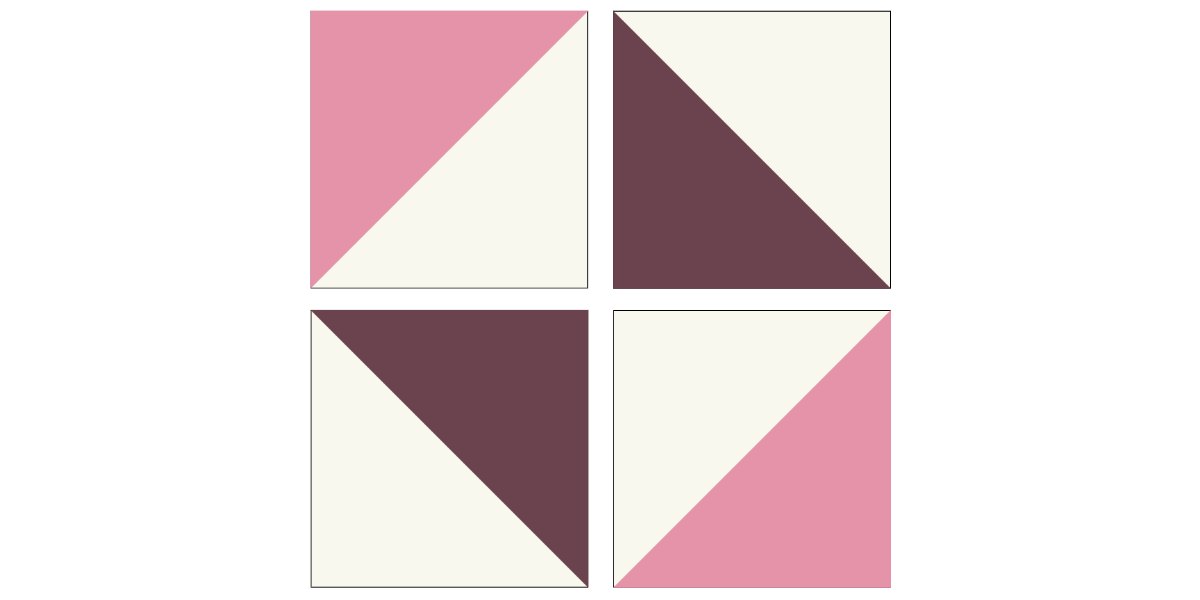
Lay out the four HSTs in two rows of two, turning them so the dark triangles rotate around the center like the diagram below.
Step 8: Sew the block together
Sew the top two HSTs together, then the bottom two. Press, then join the two rows, matching the center seam. Your finished block measures 18" square in the quilt.
Tips for a Perfect Broken Dishes Block
- Go for contrast. The design only shows up when the light and dark fabrics are clearly different.
- Trim every HST. A few seconds of trimming makes your points match at the center.
- Change the size. For smaller blocks, start with 5" charm squares and trim the HSTs to 4 1/2" for an 8" finished block.
- Try scraps. Using a different fabric pair in every HST gives you a classic scrappy look.
Final Thoughts
The broken dishes block is quick, forgiving and endlessly versatile. Make one as a pillow top, or repeat it across a whole quilt for a striking modern look.
Need inspiration for your next project? Browse our 13 broken dishes quilt patterns to see how other quilters use this classic block.