
If you’re a quilter, you know you have a ton of scraps from past projects.
But what do you do with them?
Scrappy quilts are some of the most fun, quirky styles of quilts you can make, and today, we’re going to focus on a specific type of scrappy quilt called a string quilt.
We will go over what a string quilt is and how to make one, and then point you to 15 eye-catching string quilt patterns to inspire you and show you what is possible with those strip scraps.
What Is a String Quilt?
A string quilt is a design that utilizes thin strips of fabric to create beautiful, scrappy-style quilt blocks.
However, these blocks are not pieced like “normal” quilt blocks. Instead of simply sewing the strips together, you will use a foundation piece of fabric, interfacing, or paper to help the strips keep their shape and give them a solid foundation to stay together.
If you have ever done a quilt-as-you-go project, the piecing for a string quilt is very similar. We will go over that in detail in the next section.
Since we use a foundation piece, we can use extremely narrow strips of fabric without fear of stretching or falling apart during construction or use.
This quilt is an excellent way to use scraps and your creativity to make a one-of-a-kind gem.
How Do You Make a String Quilt?
Using this quick and easy string quilts tutorial, you can create a string quilt block that you can use for an entire quilt. Don’t be afraid to mix and match colors and prints; that’s the beauty of scrappy quilts.
Step 1: Decide Your Block Size
If you are using a pattern, that will tell you what size block you will be making. If you are making the blocks on your own, you need to decide what size you want the blocks to be.
To decide this, look at the strips of fabric you want to use and figure out the longest strip you have and how many of that length you have.
For this example, I will make a 9” block. My first couple of strips need to be at least 14” long since I will lay the strips diagonally on my foundation piece.
Step 2: Cut the Foundation Piece
Since I want to make a 9” block, I will cut my foundation piece slightly bigger at 9 ½” square. This will give me a ¼” buffer on all four sides of the square.
I am using solid white quilting cotton for my foundation. If you use paper, keep in mind you will need to tear the paper away on each block before you create your quilt top. Using the fabric takes away that step and keeps everything secure.

Step 3: Gather Your Strips (Strings)
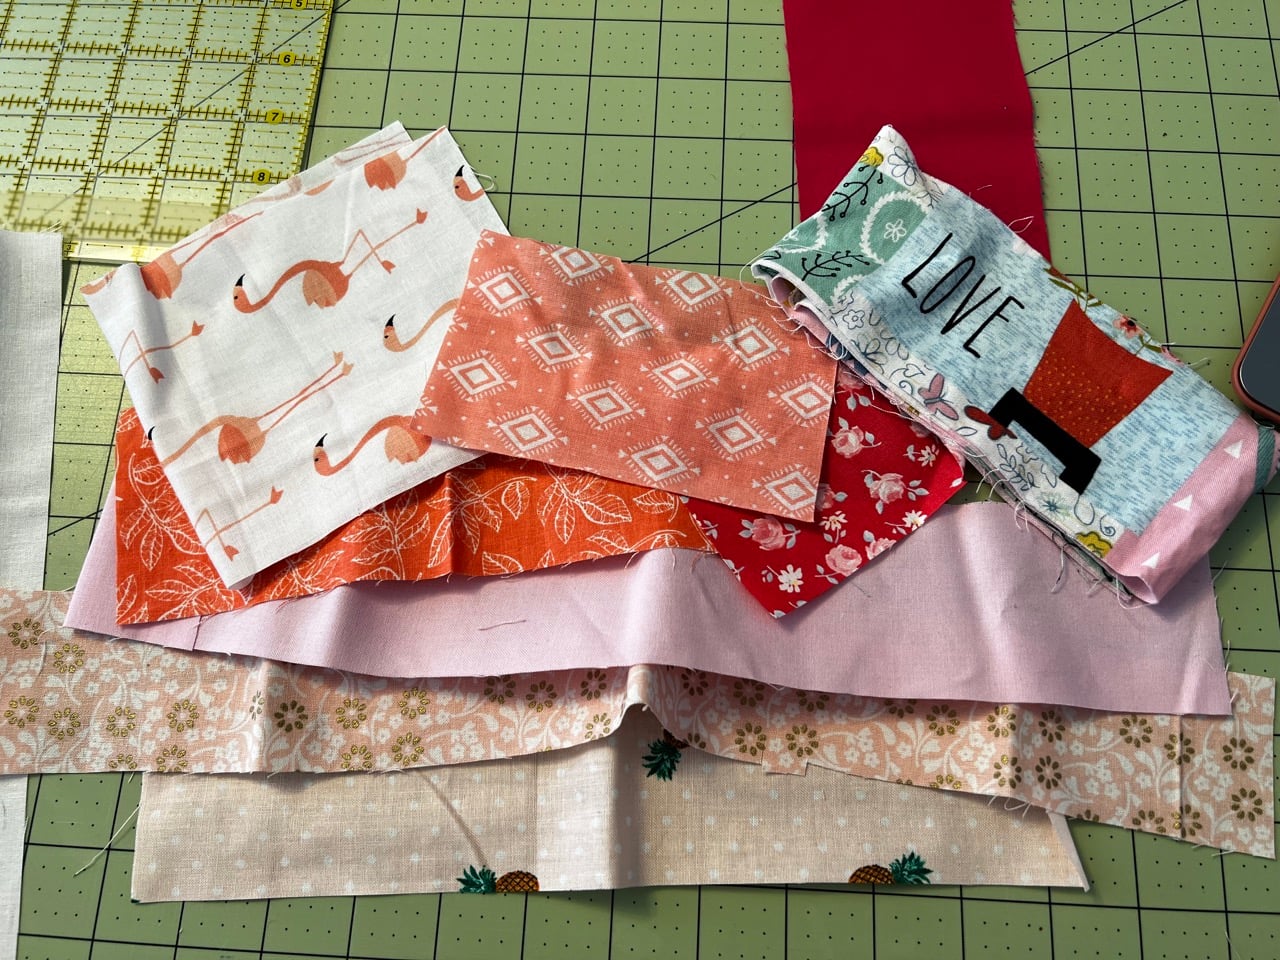
I have a bunch of fun pink scraps from years of making various baby quilts, so I will use some of those for this example block. As you can see, several of my scraps are wide.

Ideally, for the strips, you want strips ranging from 1”-2 ½” in width. I will cut the wider pieces into various widths to make a fun, quirky string block.

Step 4: Sew the Strings
Now comes the fun part! Place the foundation piece on a diagonal and choose your first two strings. You want them to be long enough to cover the two points of the foundation piece. Place the two strings right sides together and lay them down on the center of the foundation.

Sew down the right side of the strips with a ¼” seam allowance to attach them to the foundation.

Press the strings open with your iron.


Choose two more strings to add to the block, one for each side. Lay the two strings right sides together with the strings you already sewed down.

Take the block to the sewing machine and sew the next two strings to the foundation.

Press the strings open.

Repeat this process until the foundation piece is entirely covered by strings.

Step 5: Trim the Strings
Flip the block over so the foundation piece is facing up.

Trim the block down to the size you need it to be. I will trim mine down to 9”x9”.

And there you have your beautiful string quilt block!

