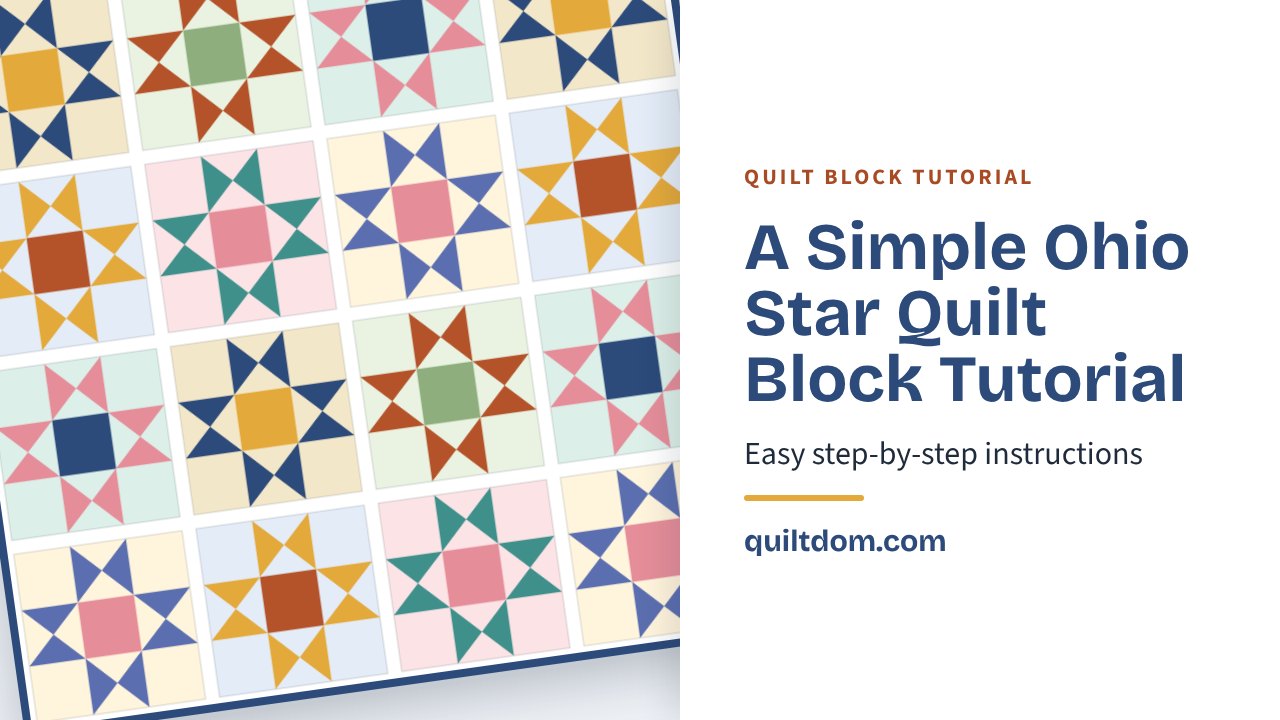
The Ohio Star is one of the most popular classic star blocks, and every quilter should have it in their repertoire.
This tutorial walks you through making one, step by step.
Ohio Star Quilt Pattern: A Simple Tutorial
How do you make an Ohio Star quilt? We have you covered – but first, you must know how to create a single quilt block. I will walk you through step-by-step how to make an Ohio Star quilt block pictured below.

1. Cut your pieces.
For this example, we will make a 10 ½” Ohio Star quilt block. For this size block, we will need to cut the following:
- 4- 4” squares from the background fabric (tan)
- 1- 4” square for the center block (pink)
- 2- 4 ¾” squares from the background fabric (tan)
- 2- 4 ¾” squares from the yellow fabric
- 4- 4 ¾” squares from the green fabric
2. Piece together the HST.
Take all the 4 ¾” squares and place each yellow and tan piece with one of the green squares right sides together. Draw a 45° line on each stack of squares like the image below.

Stitch ¼” on either side of the line you drew on each square.

Cut the line that you originally marked (the red line) and press the seams open.

3. Piece together the QST.
Take the four squares you have created and cut them in half diagonally.

Cut the red line to make eight triangles.

Now take one of each color combo and sew together, creating four new QST blocks.

4. Layout all nine squares to piece together the block.
Here’s the fun part when you get to see all the pieces together that make up the Ohio Star quilt block.

Now sew each horizontal row together.

Sew all rows together to complete the block.

And that is how you piece together an Ohio Star quilt block! Pretty simple, right? Now let’s check out some beautiful, unique examples of how you can implement this block into a quilt design.
Looking for more ideas? See 15 Gorgeous Ohio Star Quilt Patterns.