Mountain quilts capture the beauty of the peaks in fabric, and they are easier to make than they look.
Follow this free tutorial to make your own mountain quilt.
What’s In This Post:
How Do You Make a Mountain Quilt?
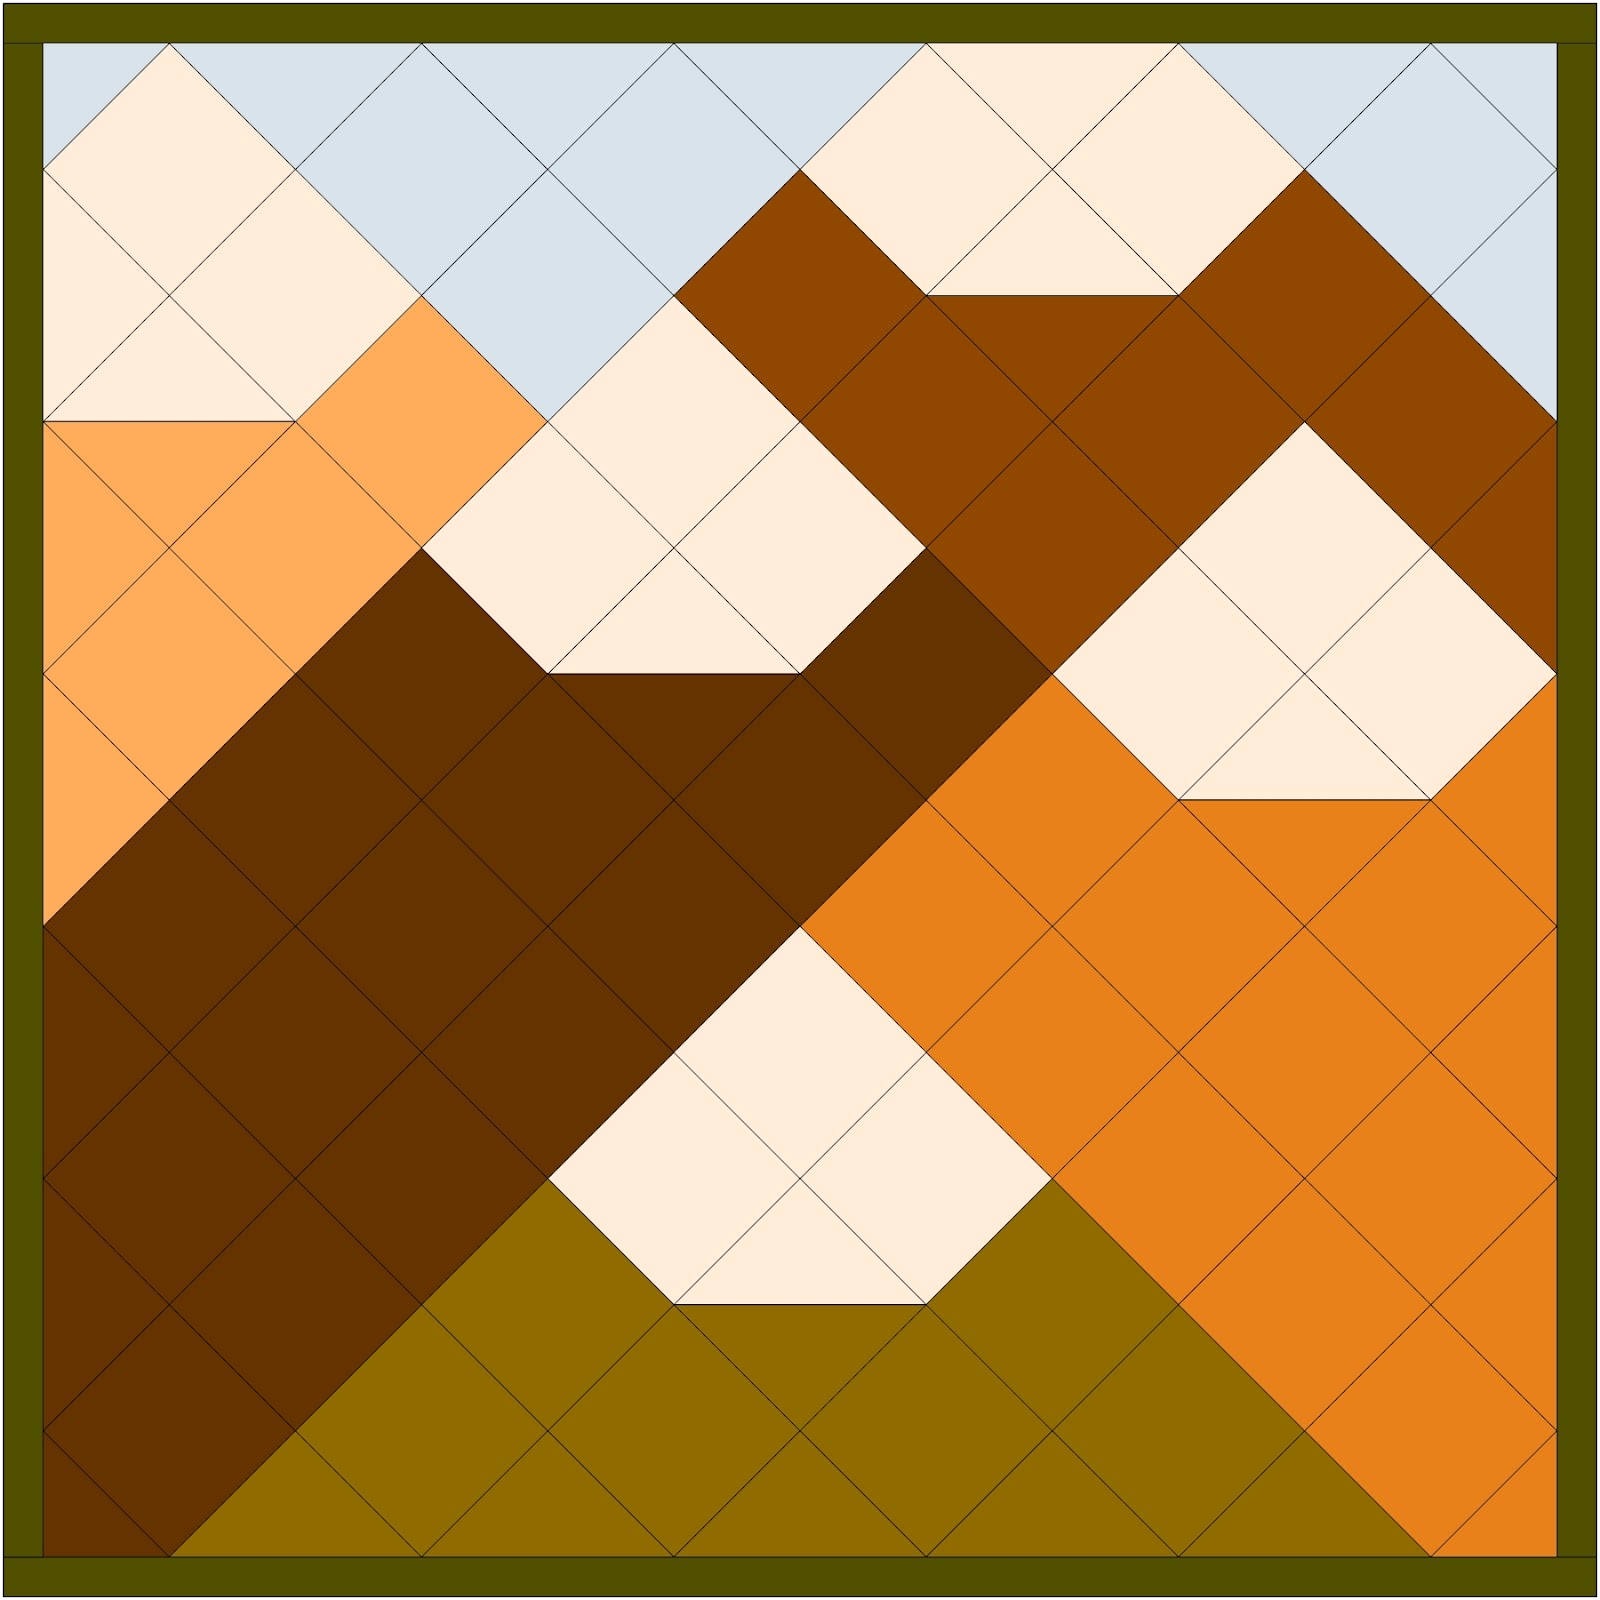
I have designed a simple mountain range quilt pattern to show you how to create a gorgeous quilt, even if you are a beginner. These instructions will show you how to make an 80”x80” large throw quilt.
Fabric Requirements
- Dark Brown: 1 ½ yard
- Medium Brown: ¾ yard
- Medium Green: 1 yard
- Dark Orange: 1 ¼ yard
- Light Orange: ¾ yard
- Dark Green: ¾ yard (border)
- Cream: 1 ½ yard (peaks
- Light Blue: ¾ yard (sky)
Cutting Requirements by Color
Cut all squares to 9 ½”x 9 ½”.
- Dark Brown: 18
- Medium Brown: 8
- Dark Orange: 15
- Light Orange: 6
- Medium Green: 12
- Cream: 20
- Light Blue: 11
Borders
- Dark Green: 8 strips measuring 2 ½” x WOF (width of fabric)
Step 1: Piece the HSTs
Take five cream squares and one of each mountain color square and sew an HST for each mountain peak.
To create one HST using two squares, first place the two squares with right sides together. Next, draw a diagonal line from the one top corner to the bottom corner.
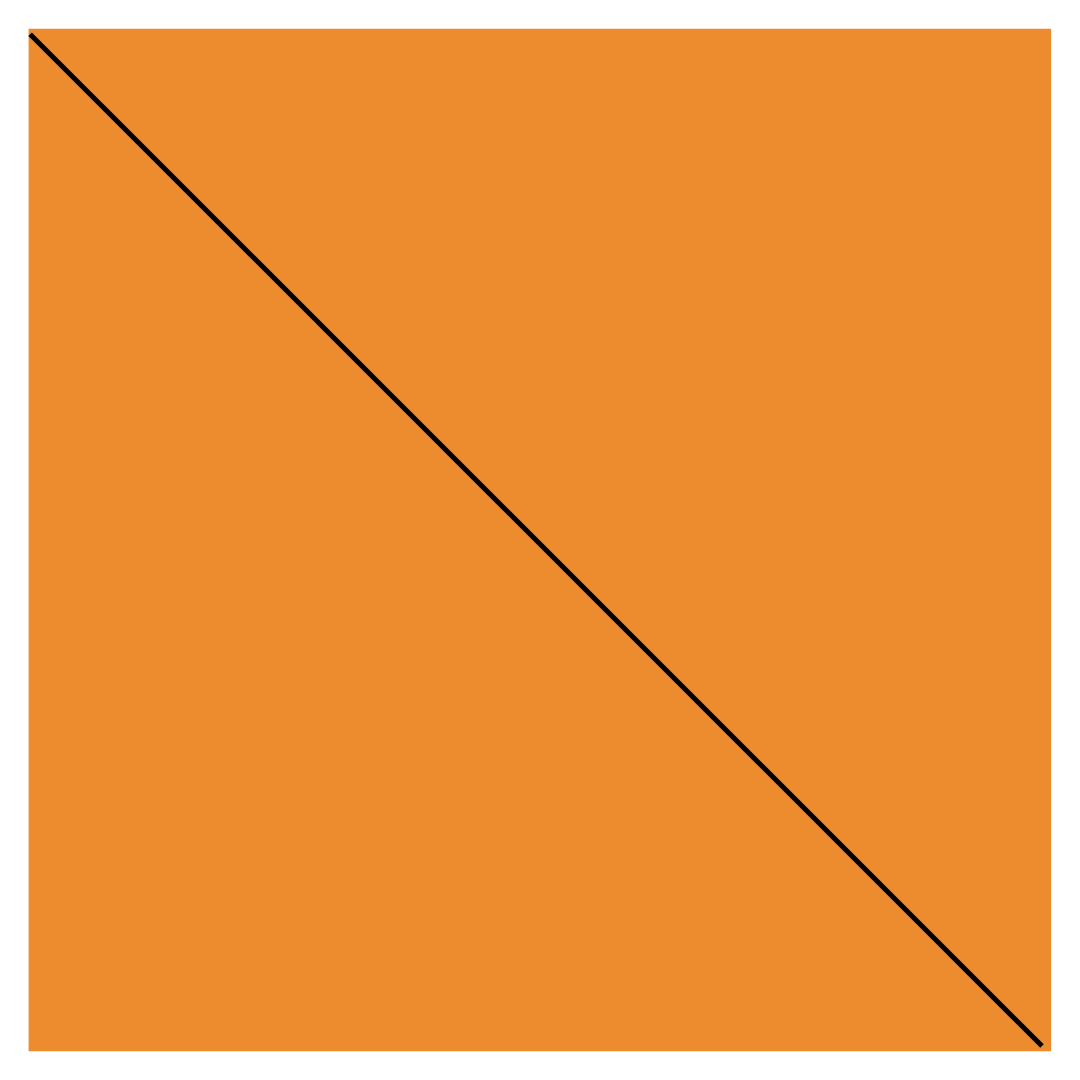
Sew down that line with your sewing machine.
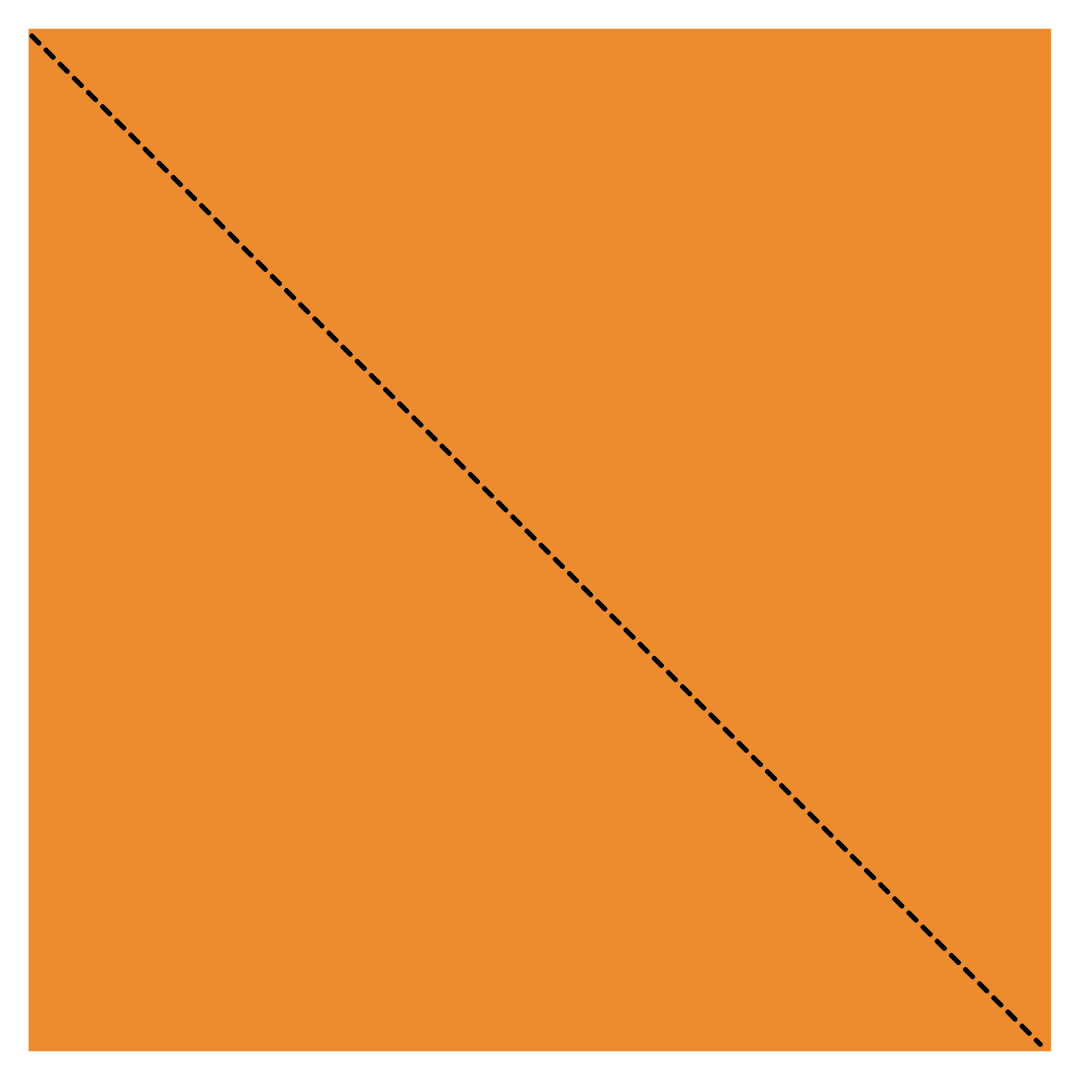
Trim ¼” away from the stitched line to create the seam allowance.
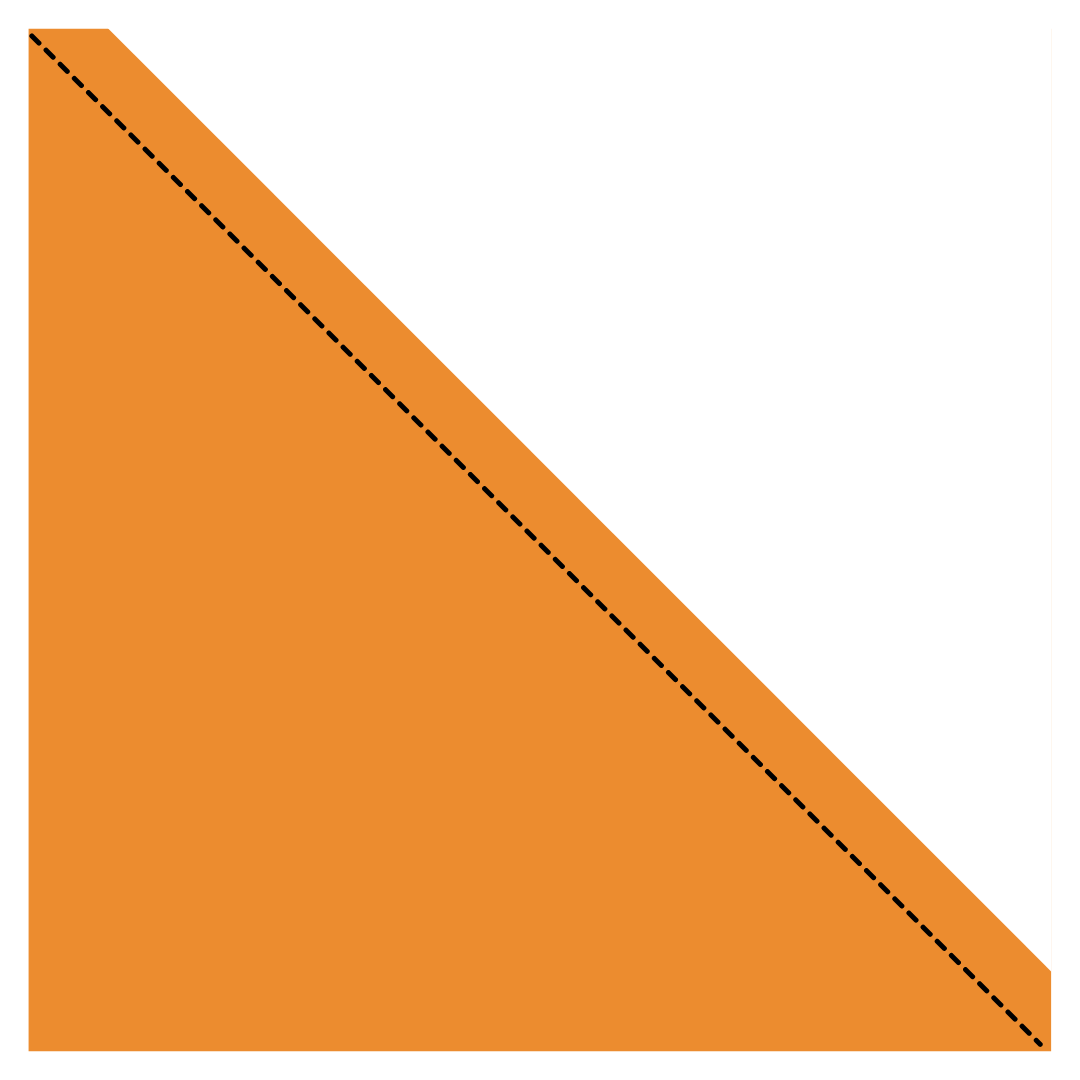
Press the seam open to reveal your beautiful HST.

Repeat this step to create all five of the HST peak blocks.
Step 2: Sew the Blocks Together
The rest of the construction of the quilt is simple.
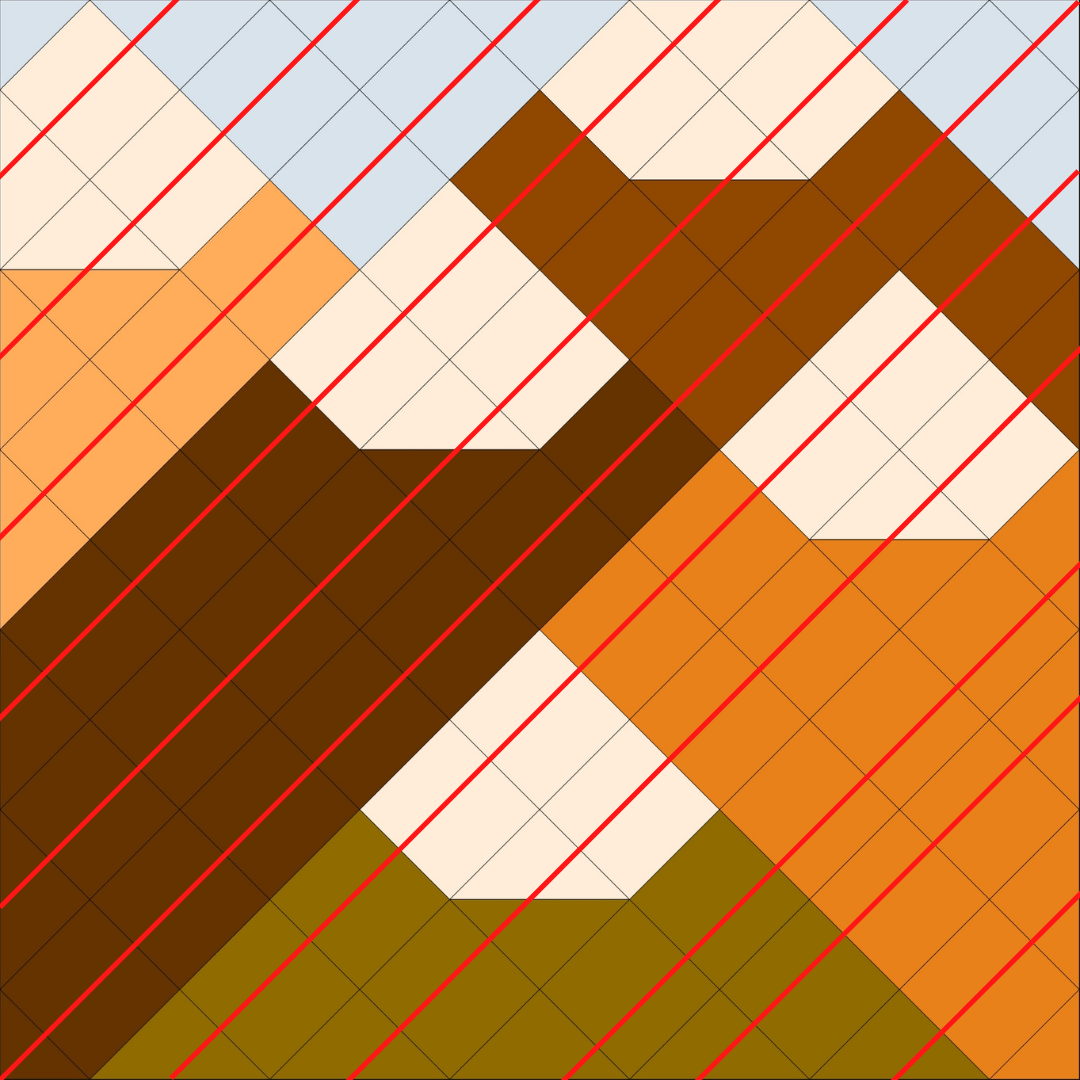
First, you need to sew the blocks together to create rows. The rows go diagonally on this quilt pattern, but don’t worry; you sew the squares just like usual. Follow the lines on the illustration below to see the rows.
Step 3: Sew the Rows Together
Using the below illustration, start sewing the rows together. I suggest starting with the longest row first and working your way to the shorter rows. Once you have one side down, flip the project around and sew on the rest of the rows.

Tip: Ensure you line up the rows’ seams when you sew them together. This will help it lay flat during quilting, making the finished quilt look amazing.
Step 4: Square Up the Corners and Edges
Since the rows are on a diagonal angle, the corners and edges will not be straight after Step 3.
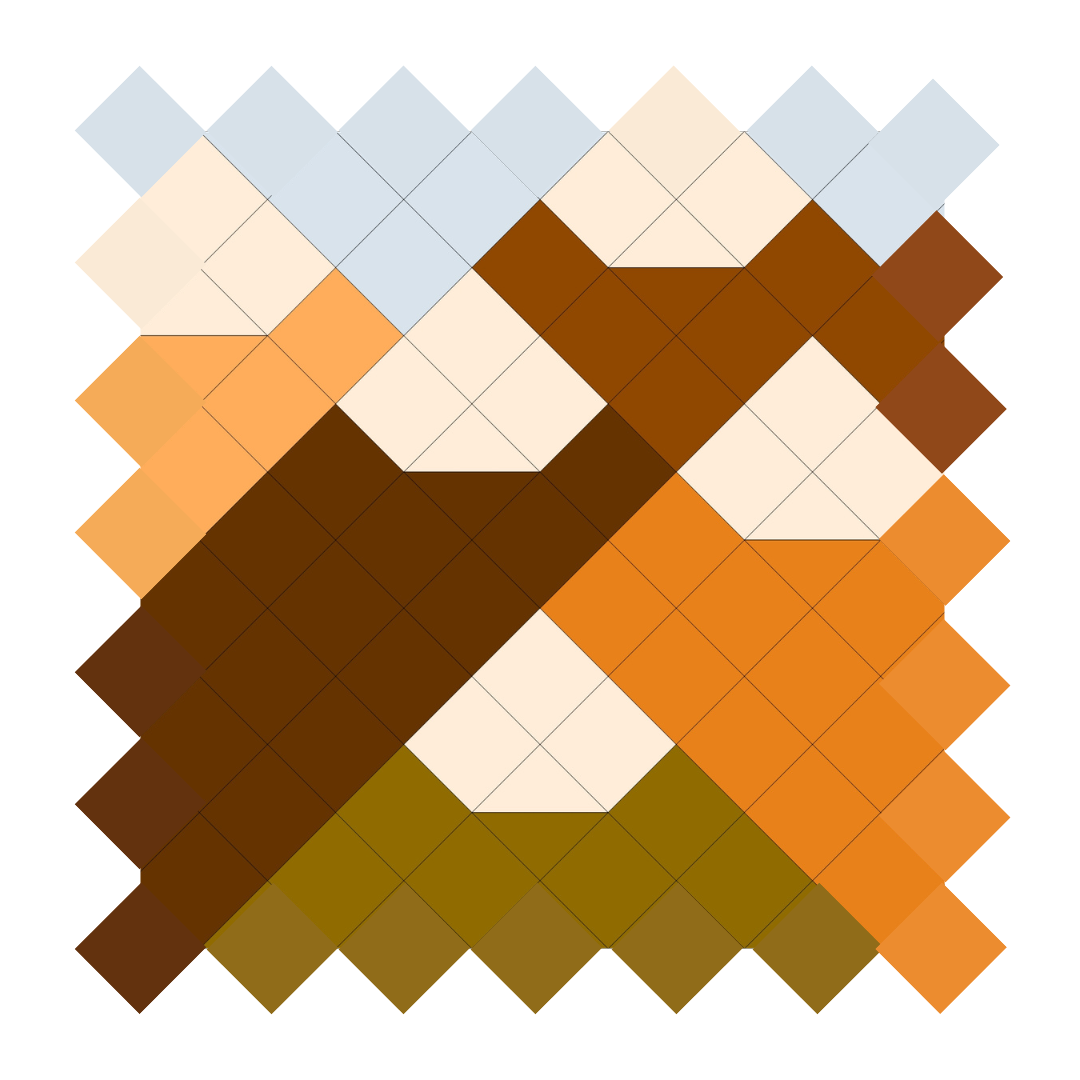
Use a straight edge with a rotary cutter and mat or a water-soluble ink pen to mark cutting lines and trim the excess fabric with scissors. The red lines in the illustration below will show you where to cut.
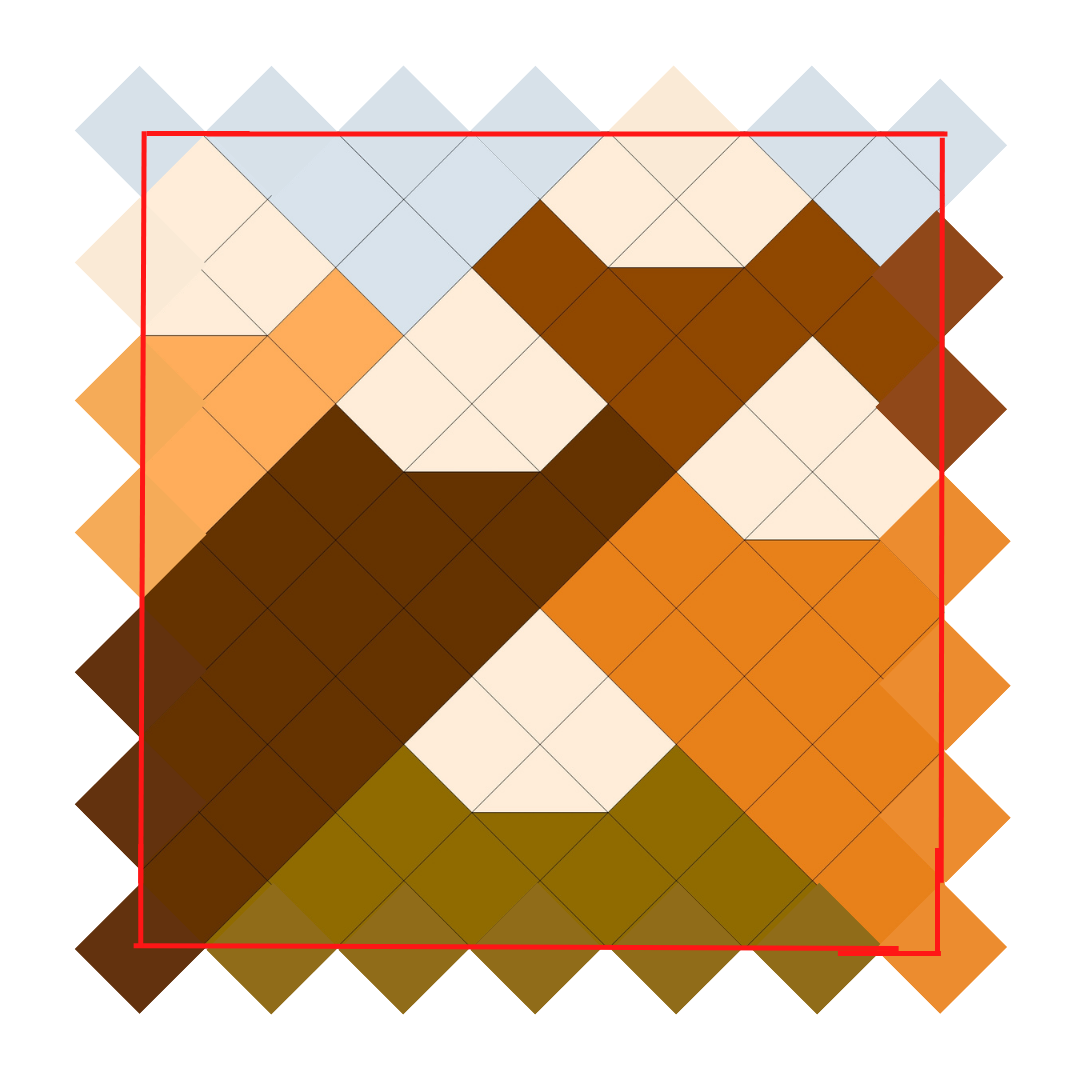
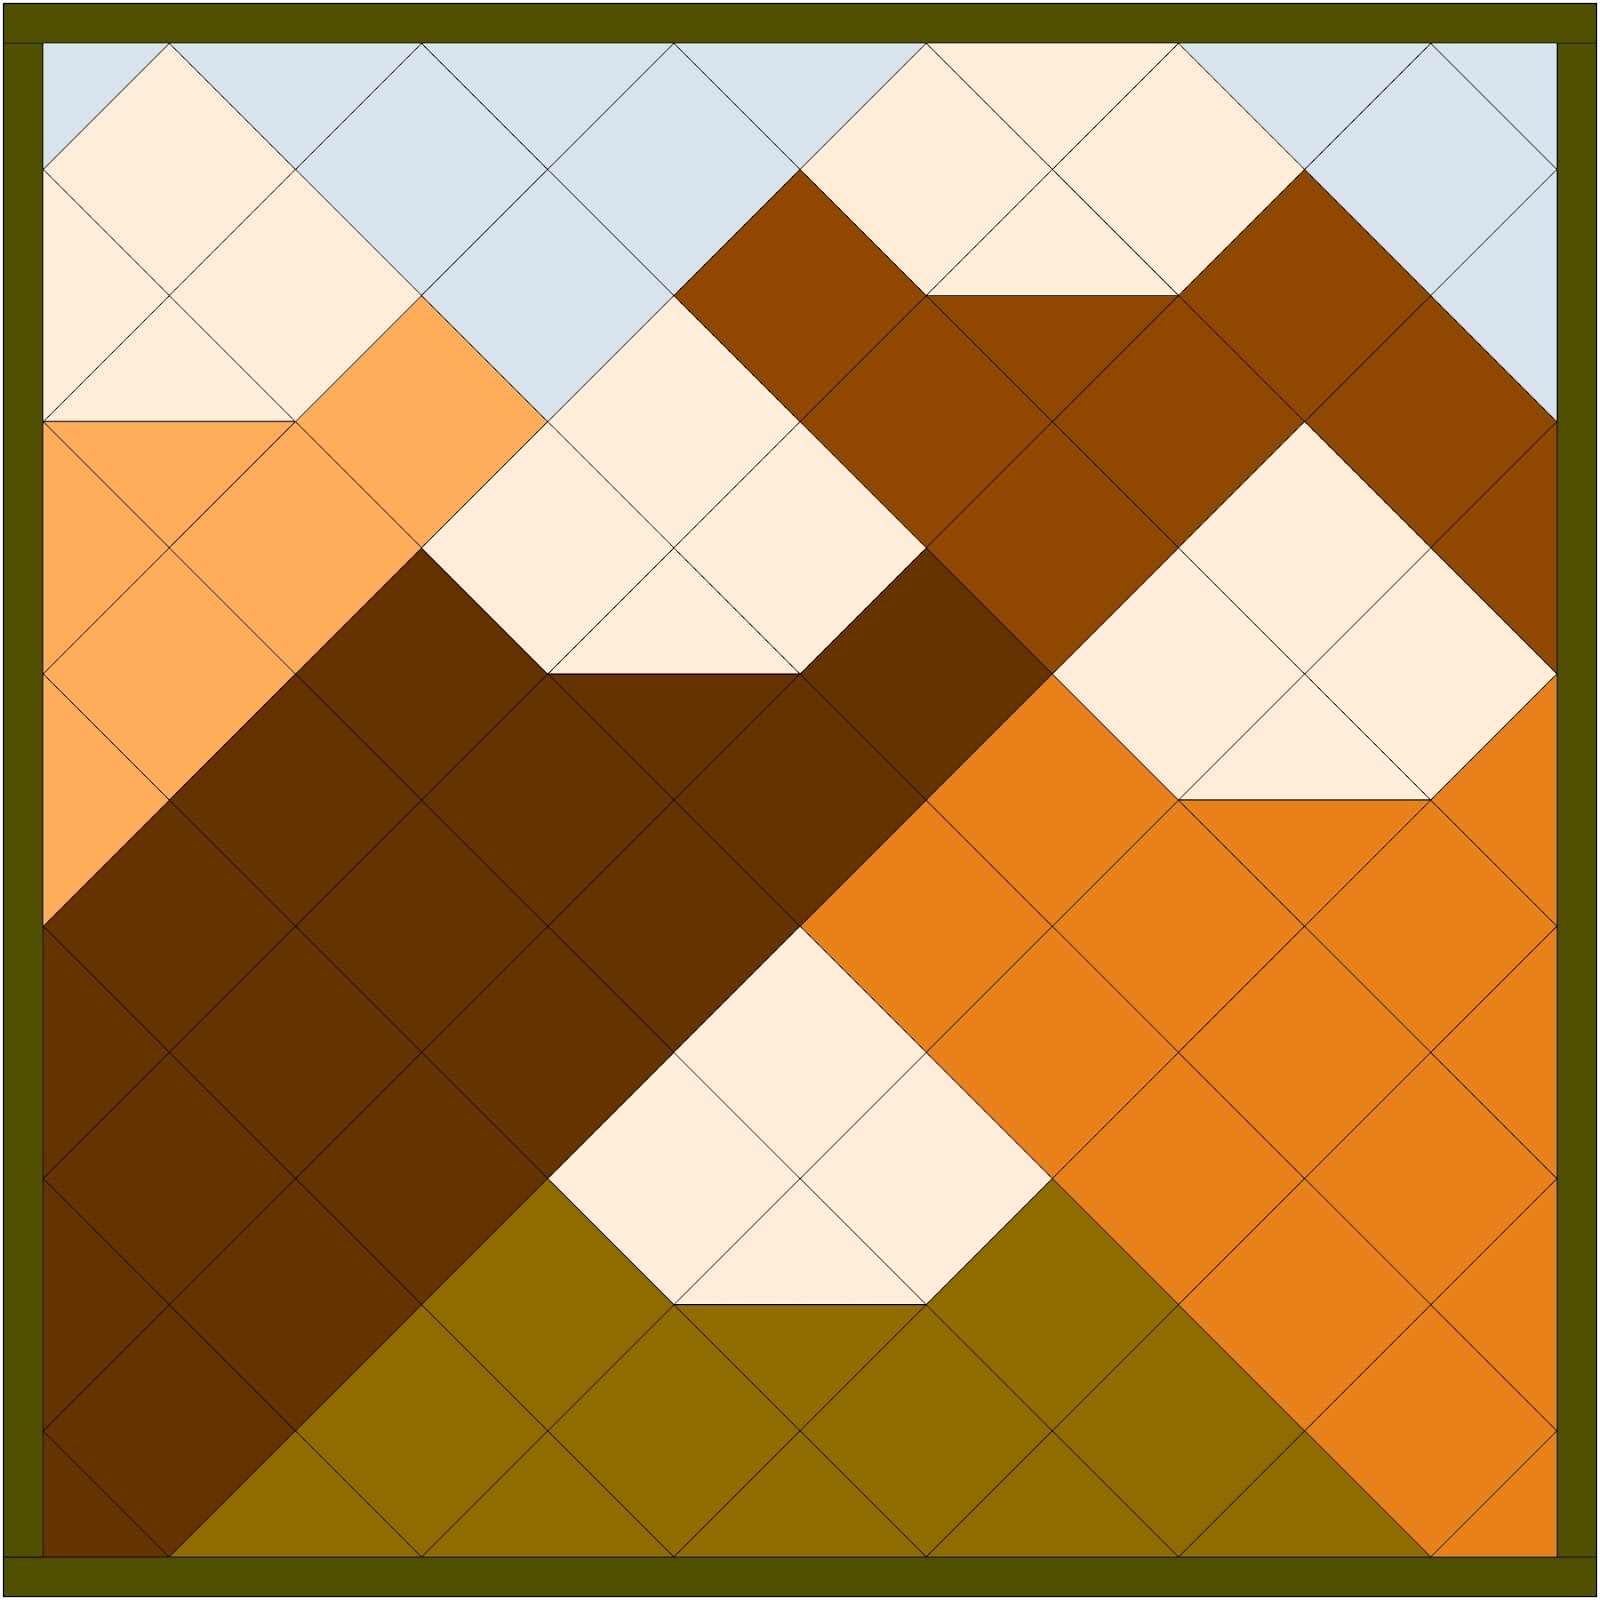
After you cut the extra “flags,” you will have a quilt centerpiece that looks like this.
Step 5: Add the Borders
The final step is adding the borders.
Sew four sets of two strips of dark green fabric together. Each one of these strip sets will be a border. Sew the two side strips on first. Trim any excess length after you’ve sewn them on.
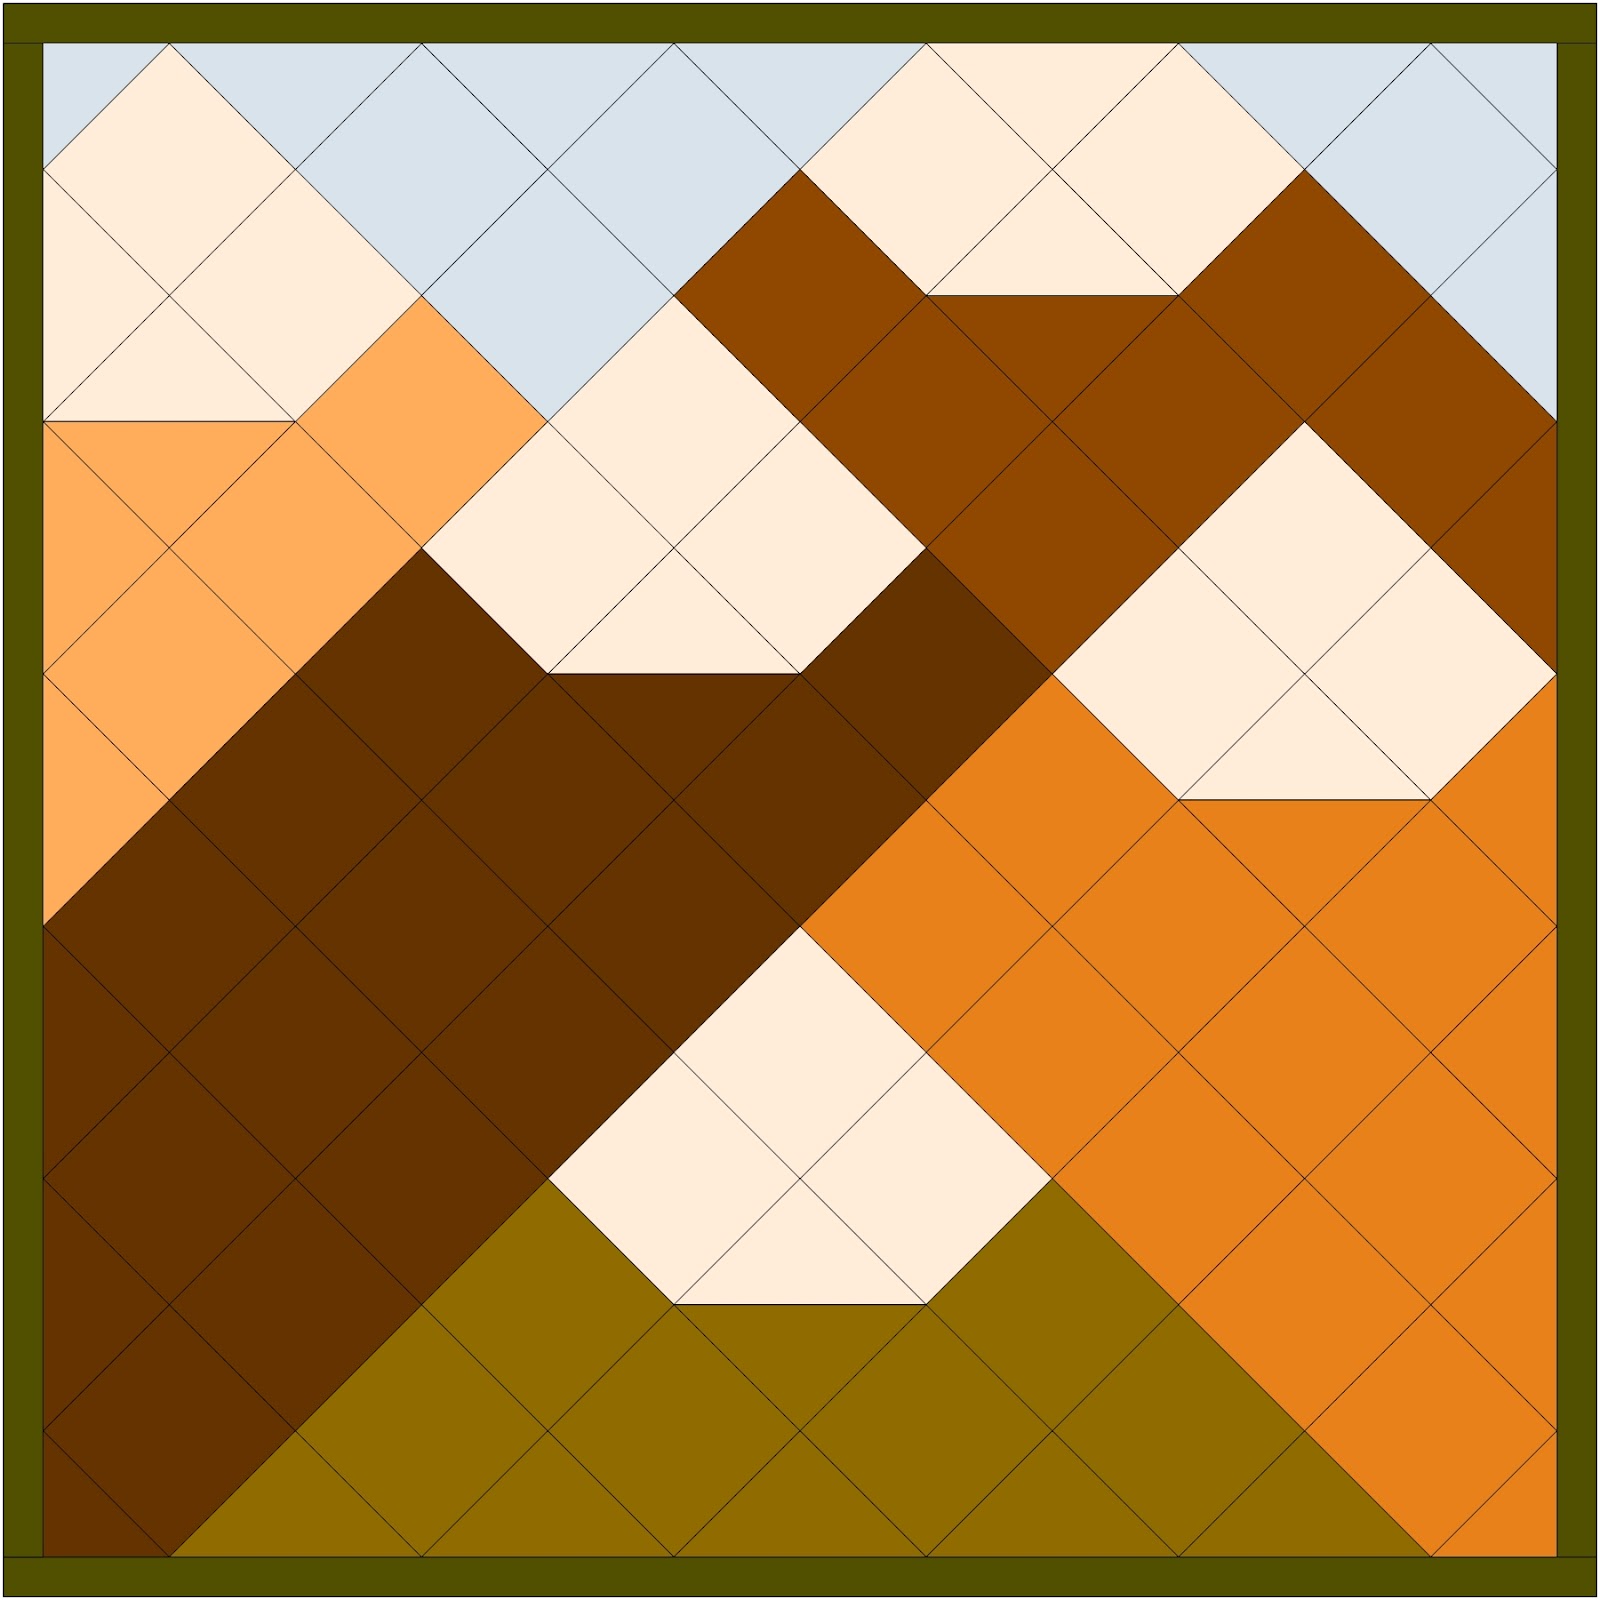
Now add the top and bottom borders.
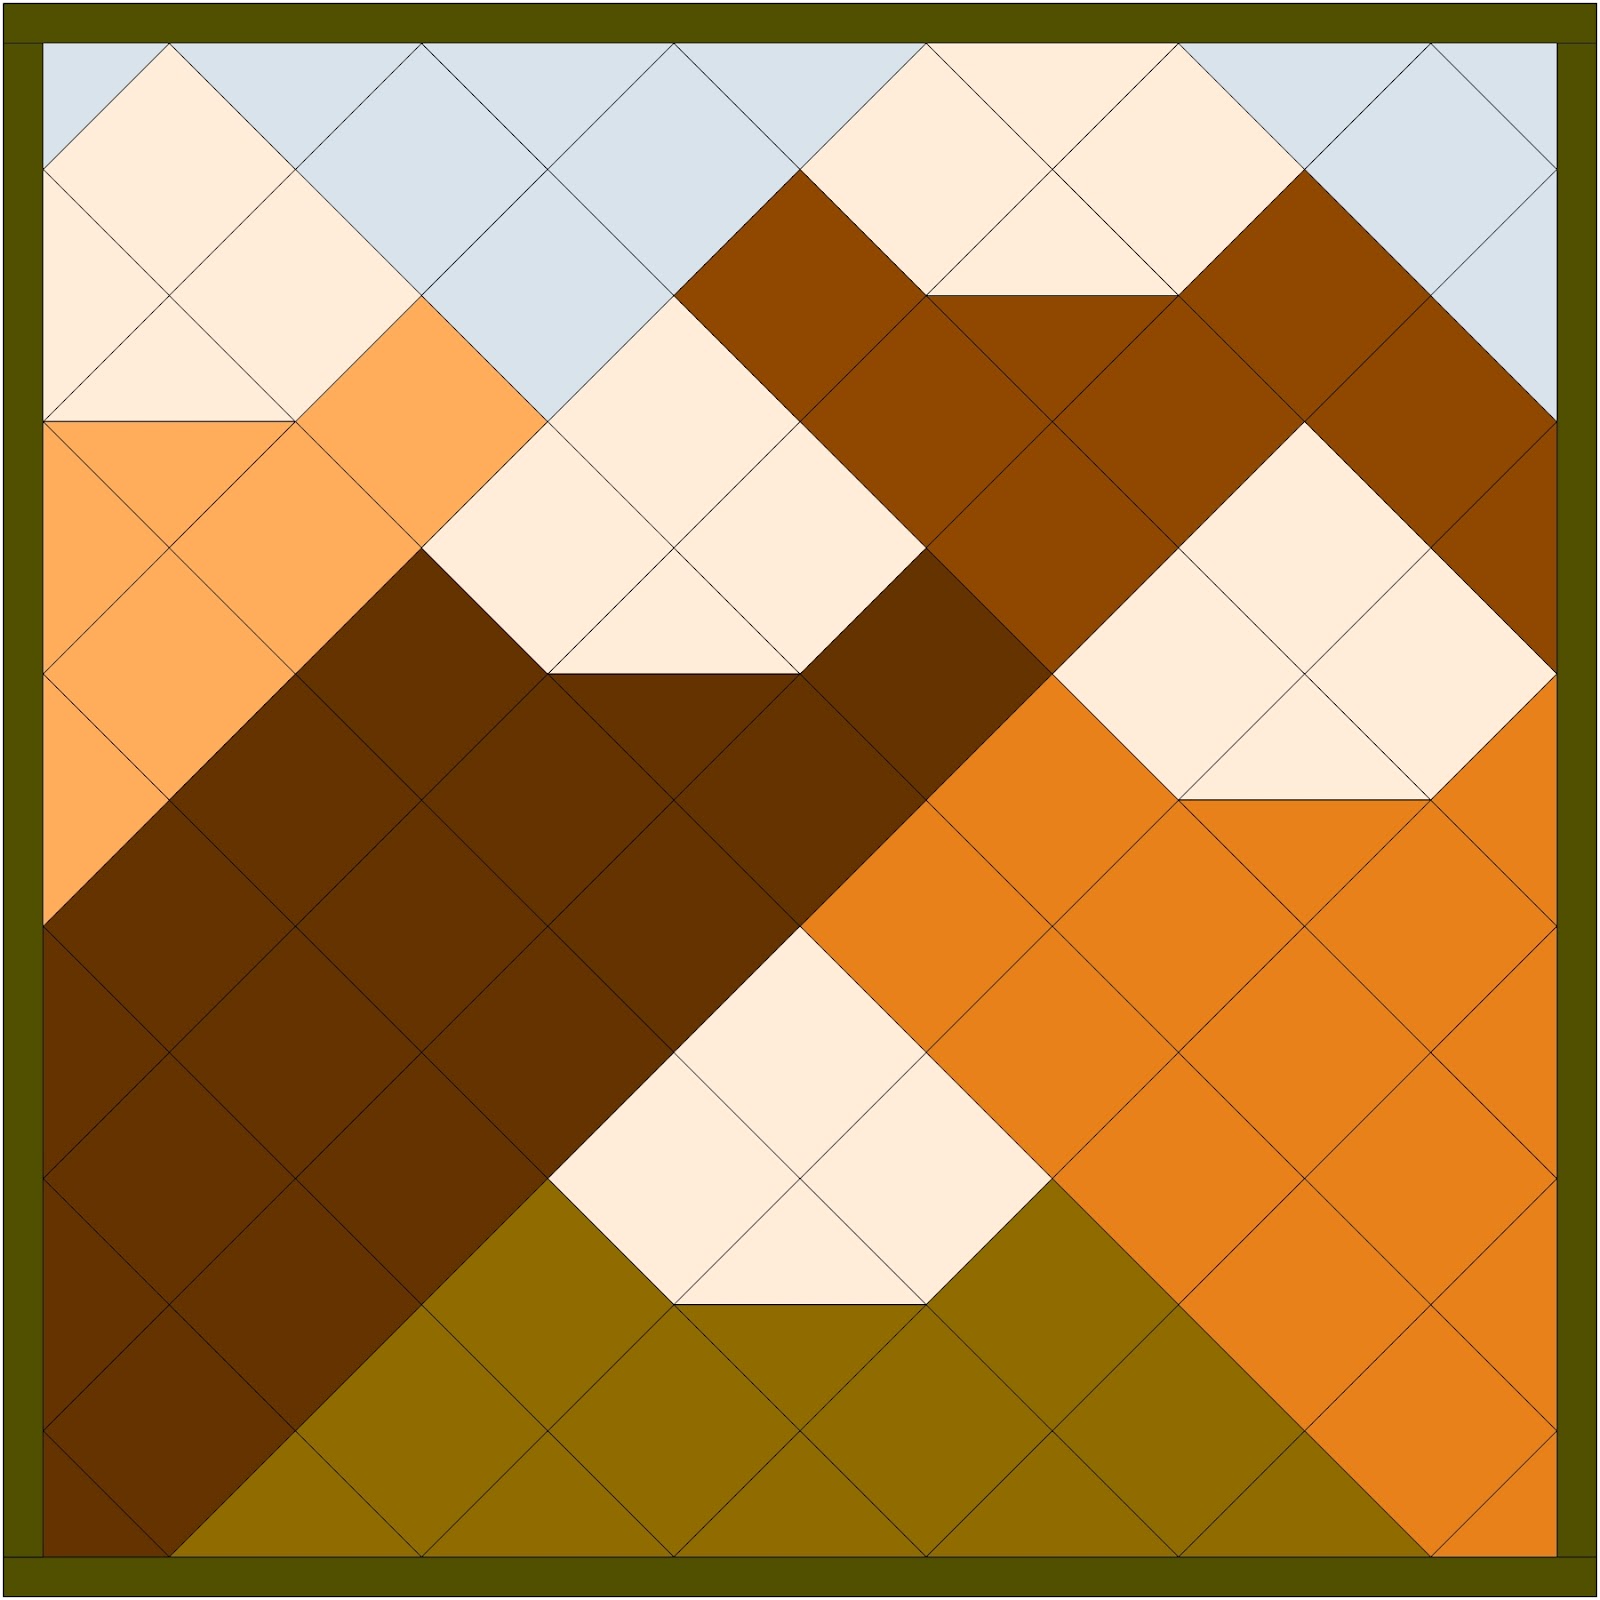
There you have it! A gorgeous mountain quilt that you can show off to your friends and family. This quilt will help you remember those breathtaking views of the mountains you saw once upon a time.
Looking for more ideas? See The Hills Are Alive With These 16 Majestic Mountain Quilt Patterns.