
If you’ve ever wondered, “How do you make a quilted coaster?” this post is for you.
I will teach you how to make a beautiful, modern quilted coaster and show you 11 other coaster patterns to sew.
Fabric coasters are a fabulous beginner project or a quick gift idea.
They don’t take a long time to make but still show you put time and effort into making something special for the person you gift them to.
What Size Are Quilted Coasters?
The size you choose to make your coasters is totally up to you; however, you want to make sure they are big enough to hold your cup of choice.
Most coasters in stores are between 4 ½”-5” square.
You could also make a mug rug-style coaster.
Mug rugs are usually rectangular shapes to hold a mug and sometimes cookies or muffins. These would measure around 4 ½”x8”.
What Kind of Batting Do You Use For Coasters?
Batting is the material layer between the quilt top and the quilt backing. I recommend using dense batting for coasters like 100% cotton batting. This type of batting will protect the surface you place the coaster and cup on. The cup won’t be unstable on this dense batting.
Quick and Easy Quilted Coasters Tutorial
These simple steps will help you sew coasters quickly and effortlessly. Keep in mind that you can choose the size you want to make your coasters, and the fabric selection and placement can be whatever you want it to be. This tutorial is the perfect guide for the construction of cup coasters.
I will be making two finished 5” coasters.
Step 1: Choose the Fabric Scraps
Coasters are a great way to use up fabric scraps.
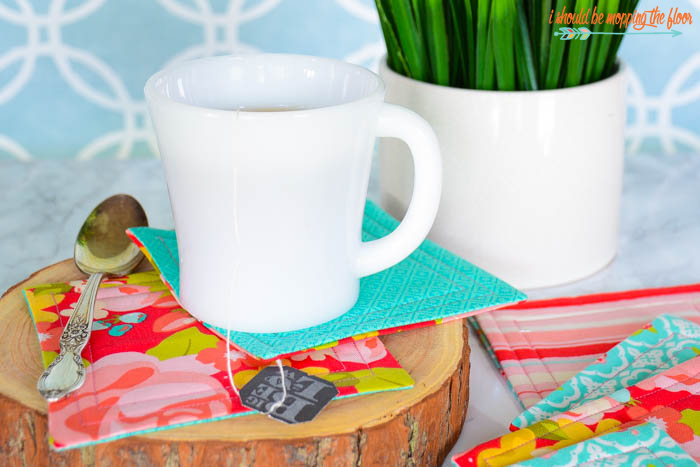
Here I have some beautiful solids scraps that I will use for my example coasters.

You will also need a 5 ½” square of batting and a 5 ½” square of backing fabric per coaster.

Step 2: Sew the Fabric Scraps Together
I sew my scraps in strips of varying widths. This step is totally up to you. You can make a mini star block, abstract improv piecing, or any other type of mini quilt block. I like the modern twist of using solid fabrics and straight lines.


Step 3: Trim the Mini Quilt
Once you have enough pieces pieced together to make the required square size you want, trim the mini quilt to the desired square size. I will be trimming mine on the diagonal and cutting it to 5 ½” square.

Step 4: Quilt the Coaster
Place the trimmed square onto the batting and quilt as desired. I chose a simple straight line quilting design with my modern lines coaster. Do NOT add the backing fabric to this mini quilt sandwich yet.

Step 5: Attach the Backing Fabric
Take your quilted coaster square and place it on the table right side up. Next, place the backing fabric right side down so the right sides of the quilted square and the backing fabric are together.

Sew around the perimeter of the squares using a ¼” seam allowance. Leave an opening of about 2” unsewn.

Step 6: Turn the Coaster Right Sides Out
First, clip the four corners. Make sure you do not cut the stitches. This will ensure the corners aren’t bulky when we turn their right sides out.

Using the 2” opening, turn the coaster rights sides out.

Use a chopstick or a hera marker to round the corners if you have one. Don’t push too hard on the corners, or it may break through the stitches.

Step 7: Press the Coaster
Take the coaster to your ironing board and press the coaster flat. Make sure the edges of the opening are inside the coaster.

Step 8: Topstitch the Coaster
Our final step is to topstitch around the perimeter of the coaster about ⅛” from the edge.

There you have beautiful, functional coasters perfect for your favorite mugs.

More Related Articles
21 Exquisite And Inspiring Barn Quilt Patterns To Create A Work Of Art [+Free Printable]
19 Free Fat Quarter Quilt Patterns You’ll Love
15 Super Easy Quilt Blocks That Make You Look Like An Expert
11 Quilted Coaster Patterns You'll Adore
Now that you know how to make your quilted coasters let’s look at 11 more adorable coaster patterns to inspire you. These patterns are excellent beginner projects, and you don’t have to be a “quilter” to make some beautiful coasters.
1. Easy Whole Cloth Coasters
Here is a free tutorial for the most simple quilted coaster you will ever find. The designer shows you how to make these whole cloth coasters.
2. Leaf Quilted Coasters

Aren’t these leaf coasters so adorable? This is a free tutorial from Diary of a Quilter, and she takes you step-by-step on how to create these fun coasters.
3. Star Quilt Block Coasters
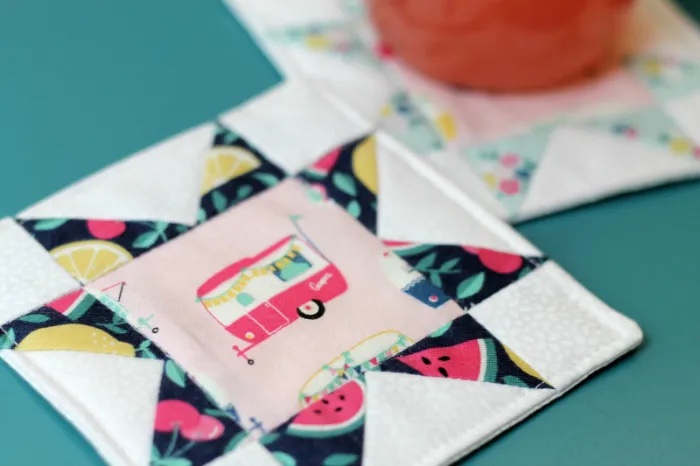
This coaster tutorial is similar to ours, except they use a beautiful 8-point star block. These would make great gifts for friends and family. The finished coasters will measure 4 ½” squares.
4. Apple Season Coasters
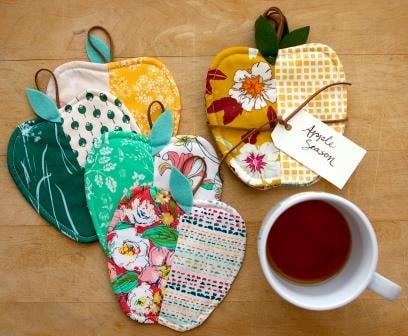
Here is a free quilt pattern that will show you how to make these adorable apple-shaped coasters. The finished size of the apple coaster is approximately 5”x5”.
5. Folded Hexagon Coasters
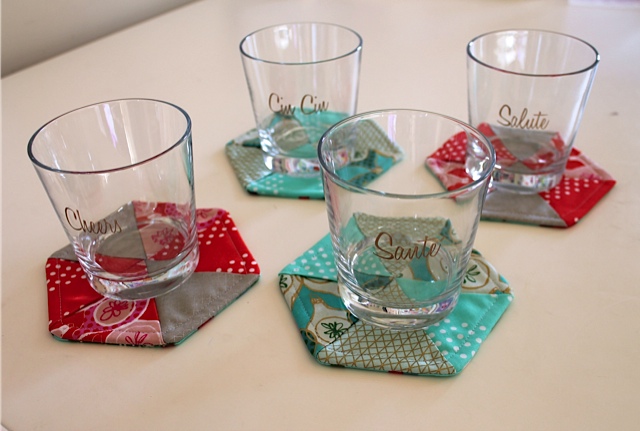
Here is an excellent free tutorial on making these unique hexagon-shaped coasters. The tutorial itself is pretty impressive and shows you how to fold different pieces of fabric to make hexagons.
6. Oversized Circle Coasters
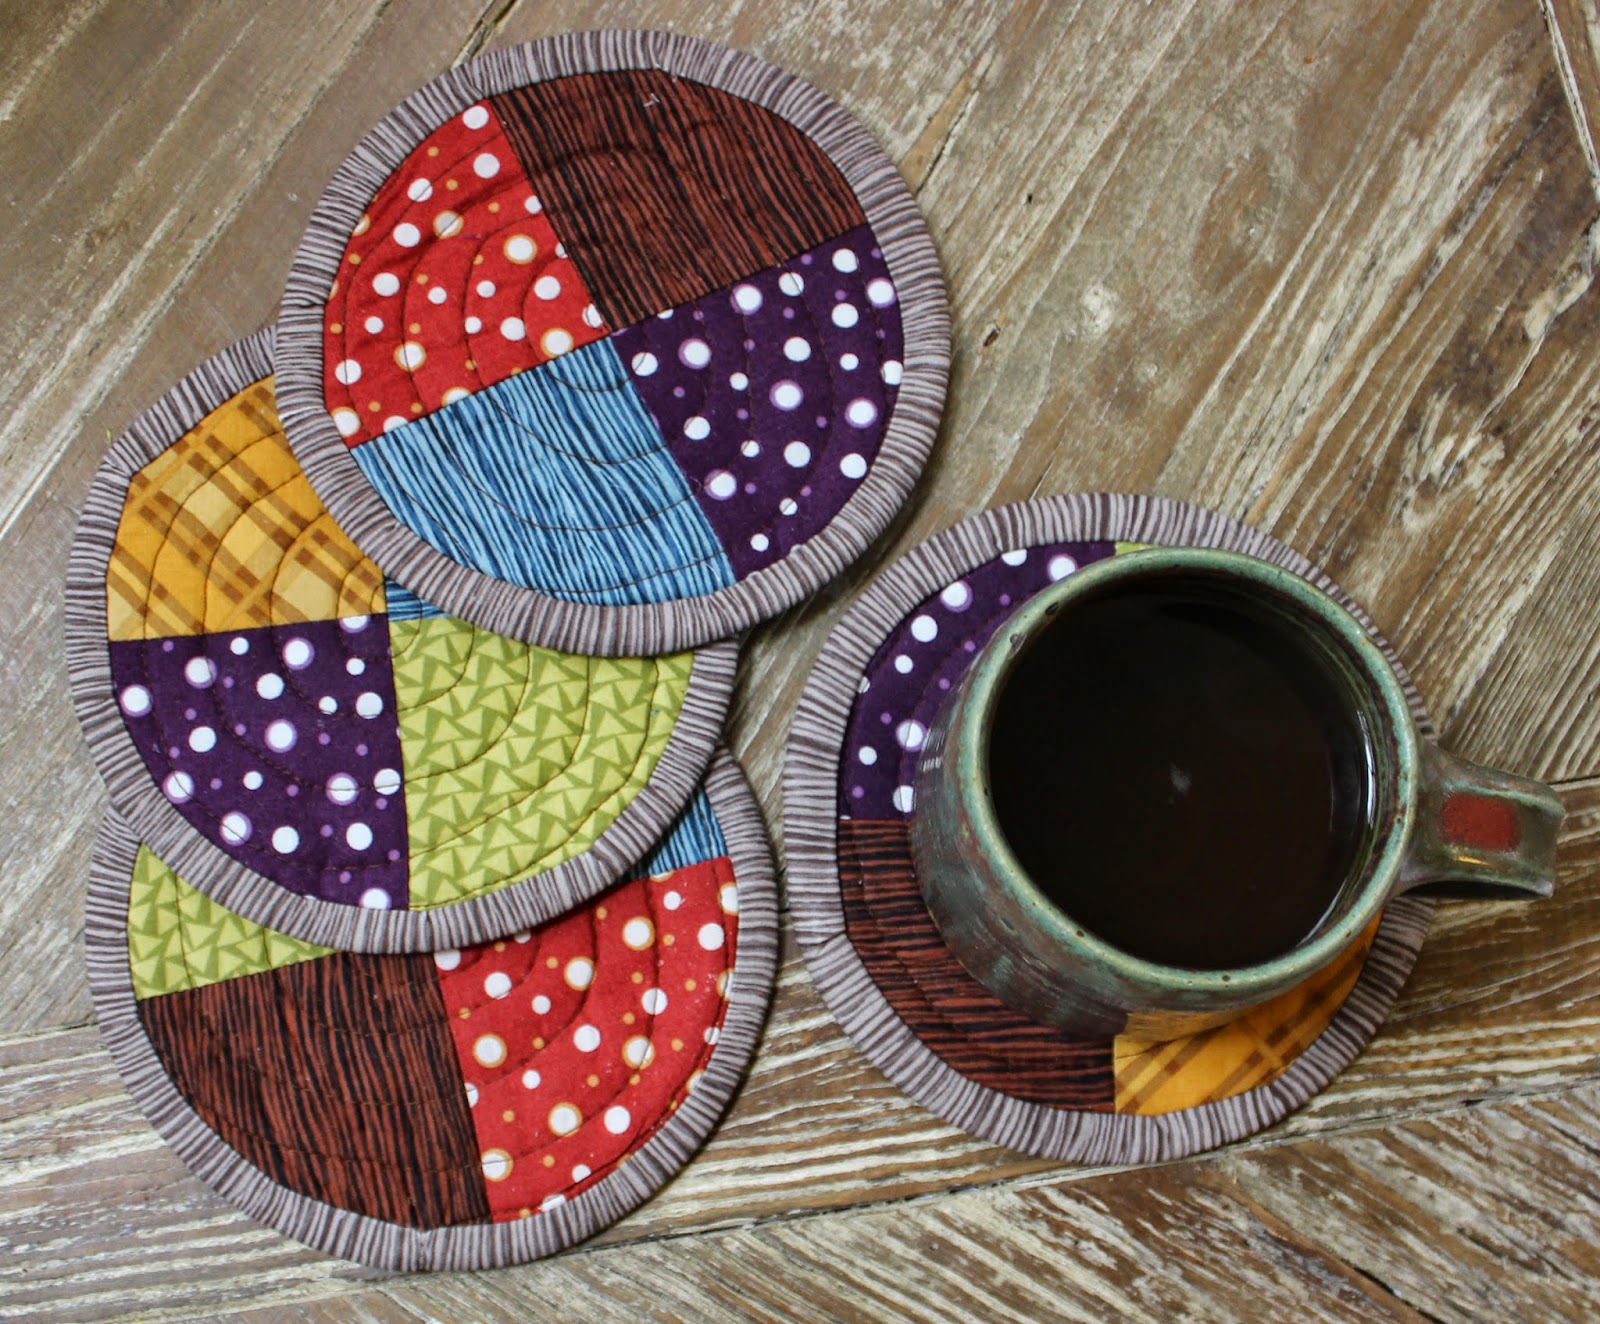
Jennifer from Jennifer Jangles Happy Designs created this fun tutorial on making these large 6” circular coasters. These coasters would be perfect for oversized mugs. These would be a quick and easy weekend project.
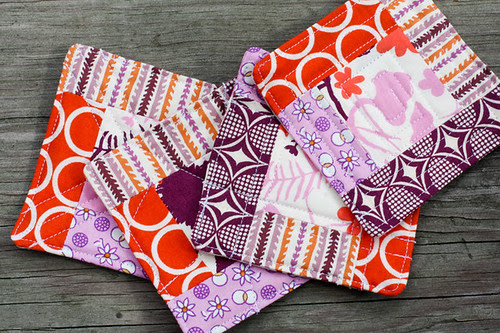
7. Modern Quilted Coasters
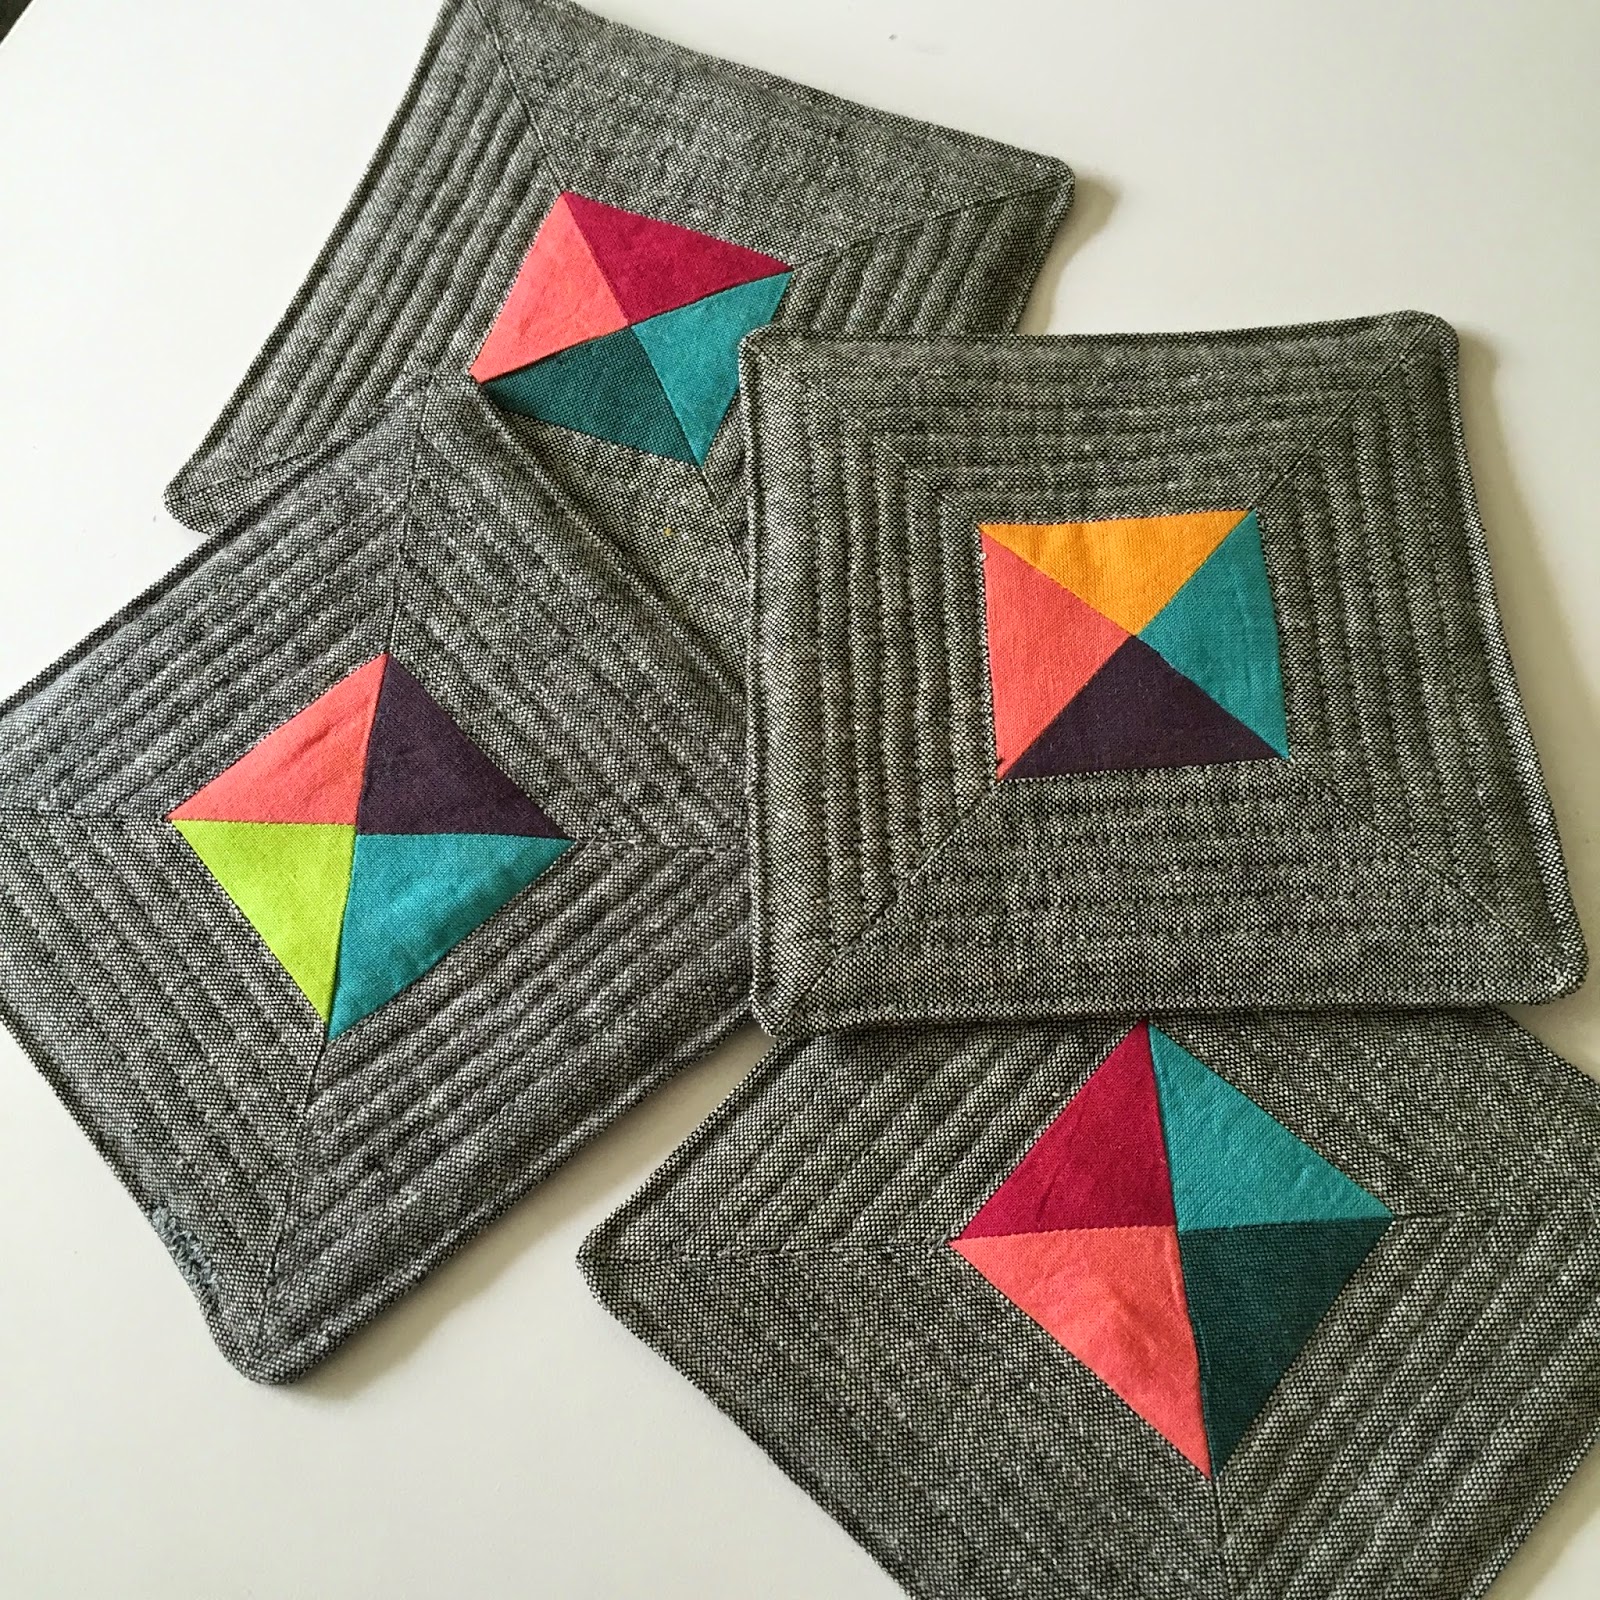
This is a fantastic example of how you can use scraps to create beautiful pieces. The designer of these coasters used scraps from a table runner she made. Leftover fabrics are fantastic for this type of small project.
8. Abstract Quilted Coasters
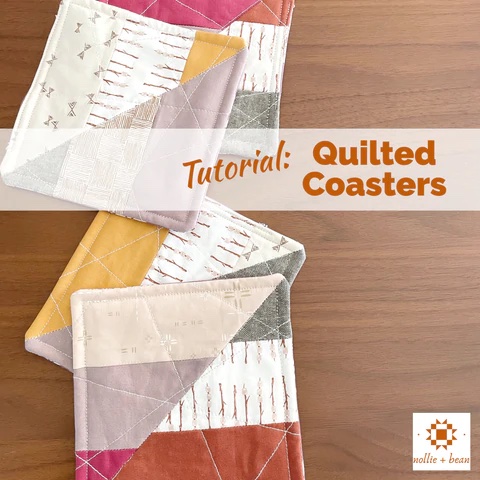
A free tutorial by Nollie + Bean uses scraps to create these lovely abstract coasters. The quilting they chose to use and the mismatched strips give these coasters a fun, modern look.
9. Cozy Cat Coaster Pattern
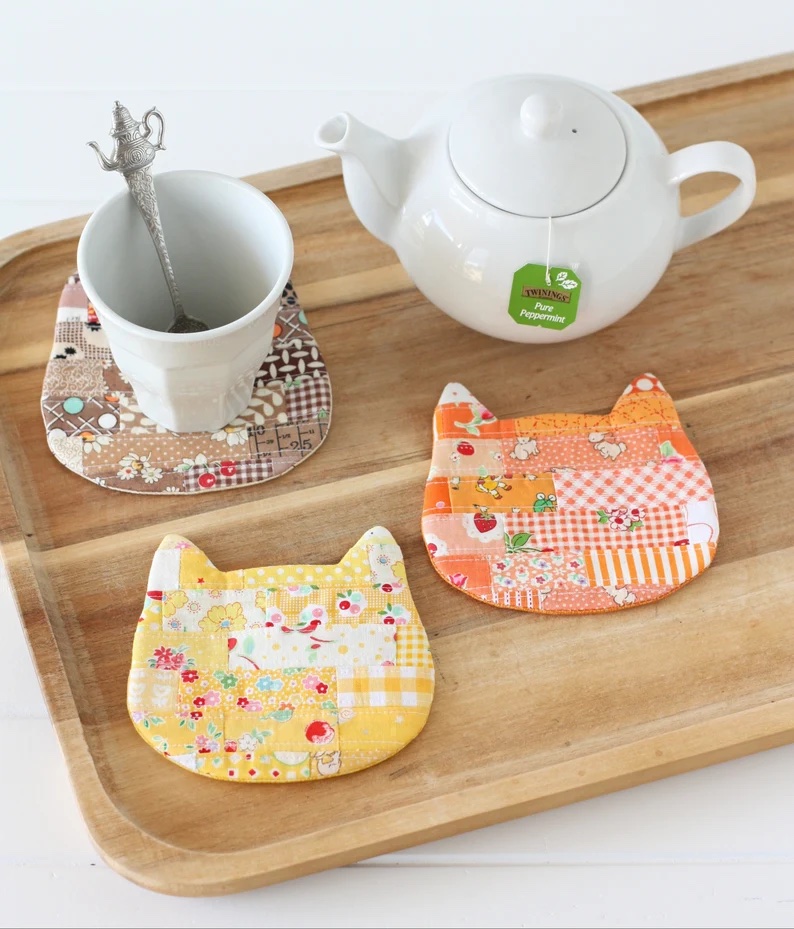
These cute cat quilted coasters would make the perfect gift for those cat lovers in your life. This pattern will show you how to make these 5”x4” scrappy feline coasters.
10. Log Cabin Coaster
If you are familiar with the log cabin quilt block, you should be able to see the resemblance in this coaster. The designer used a simple five-piece log cabin block to create these coasters. This is a well-written free tutorial on making this simple log cabin coaster.
11. Granny Square Coasters
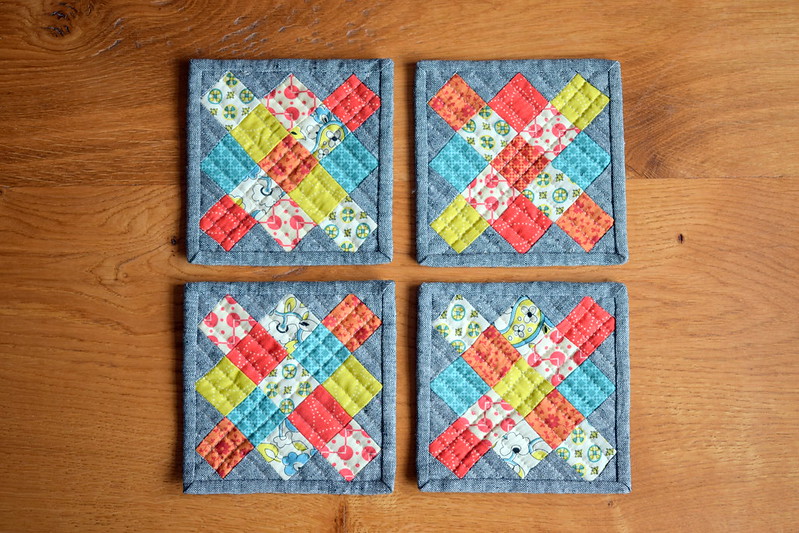
The quilt block featured on these coasters is called the “granny square” quilt block. The squares used to make this block measure 1 ½”x 1 ½” are an excellent opportunity to use up tiny scraps you may have lying around. The finished coaster size is 4 ¾” square.
I hope you enjoyed the tutorial and compilation of other coasters to spark your creativity and make some coasters. The significant part about this project is that it won’t take a lot of time, but it is still rewarding to make these lovely mini quilts.
Love the patterns!
Yay, Carol! Me too! They’re a lot fun of to make since they don’t take much time, but you still get to have fun creating something new 🙂