
I am super excited to share this hexagon quilt tutorial with you all today.
The hexagon quilt pattern is one of my all-time favorite “one patch” designs, which simply means one type of patch is used to create the entire quilt top.
In this tutorial, I will show you the more traditional method to sew hexagon blocks together.
This method is called the “Y seam” method.
My goal for this tutorial is for you to make an easy hexagon quilt after learning these steps.
A Brief History of the Hexagon Quilt
Always a favorite in the United States, hexagon quilts rose in popularity in the 1930s with the name “Grandmother's Flower Garden.”
The earliest hexagon template discovered was made in England in 1770, according to quilt researchers. By 1803, this hexagon style became one of the most popular patterns in England.
Godey's women's magazine published a pattern in 1835 for this block, calling it the Hexagon pattern, and offering complete instructions for the paper-piecing construction method.
Supplies You Need for Your Hexagon Quilt
- Fabric for the quilt top, backing, and binding. The amount will vary depending on how large your project is and how large you make your hexagons.
- Batting
- Cutting board
- Rotary cutter
- Hexagon ruler (or a hexagon outline printed out on cardstock)
- Marking pen
- Sewing machine
- Scissors
- Thread
- Iron and ironing board
If you were to ask me, “How many hexagons does it take to make a quilt?” I would then ask you a couple of questions:
- What size hexagons do you want to make?
- What size quilt do you want to make?
For my specific project, I am making a baby quilt, and I’ll share my dimensions of the quilt and the size hexagon I use, but you can adjust this to fit your specific needs for your project.
I want my finished quilt to be 47” x 47” and will be using a 3 ½” hexagon ruler to cut 3 ½” hexagon blocks. The 3 ½” is not the width of the entire hexagon but the length of one side. Once they are sewn together, the finished hexagons will measure 3 ¼” sides. I cut 77- 3 ½” hexagons.
How to Make a Hexagon Quilt Step-by-Step (The “Y Seam” Method)
Step 1: Cut out your hexagons.
Use your hexagon ruler to cut out your hexagons. I like to cut strips the width that I need my blocks to be. In this case, they needed to be 6 ½” wide. Then I cut my hexagons from those strips.

If you don’t have a ruler, that’s fine. You can go online and look up free hexagon templates and print one out. Just make sure it’s the right size you need. I recommend printing it on cardstock, as it’s much sturdier than regular printer paper. You could also print it on regular printer paper and then trace it on a piece of cardboard and cut that out.
Step 2: Mark your ¼” seam allowance marks.
This step is essential and will help you tremendously when you are piecing your hexagons together. Make a small dot in all six of your corners, ¼” from the edge.
These marks will help when you are piecing your hexagons together and giving you accurate “Y”s for your quilt top.
I drilled holes in my hexagon ruler, but you could achieve the same effect by cutting a hexagon out of cardstock and making holes in the corners with a hole punch. Or, you could simply measure with a regular straight edge ruler ¼” from either side in each corner.

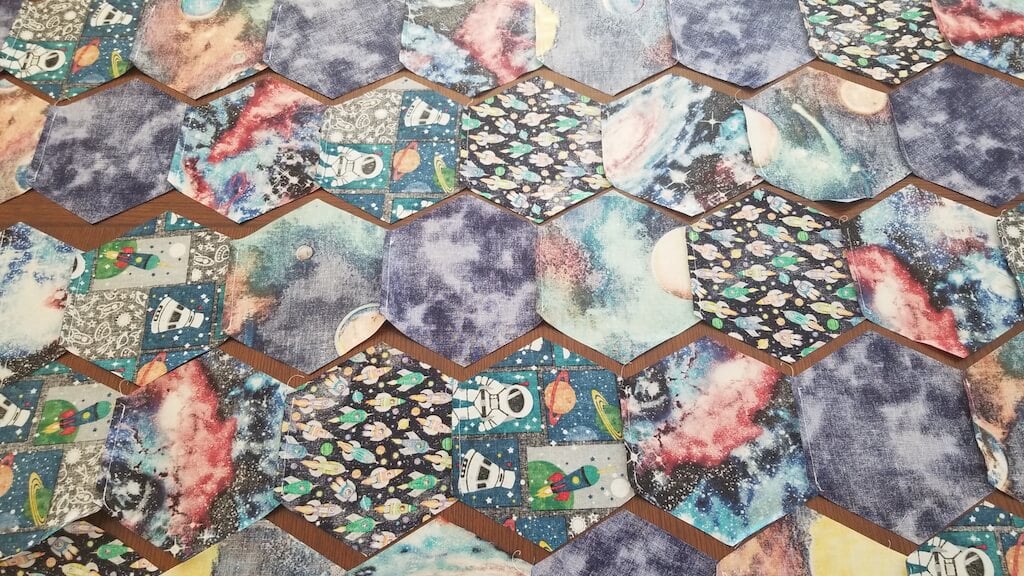
Step 3: Create your layout for your quilt top.
This step is the fun part as you figure out the layout and design of your quilt. Keep in mind that the next step is sewing your columns (vertical rows) together.
Once you’ve chosen your layout, neatly stack your columns, so it’s easy to bring them over to your sewing machine.
Step 4: Sew your columns.
Take your first two hexagons and place them right sides together. You will see your marks on the top hexagon. Begin your stitch on that mark, making sure not to backstitch past your mark.
Now stitch to the mark at the end of that side. You will have an open seam of ¼” on both ends of your seam, and that’s what you want.

Continue adding hexagons to your column until you have your column done. Repeat this step to complete all your columns. Double-check you are leaving that ¼” open end to all your seams along the way.

Step 5: Press all your seams to one side.
You can choose whichever side you press all your seams. Just be sure they’re all pressed in the same direction to make the step much more manageable.
Step 6: Sew your columns together.
If you haven’t done it before, this step will seem a bit confusing. But trust me, if you just take it one seam at a time, it’s not only simple — it’s also quite fun.
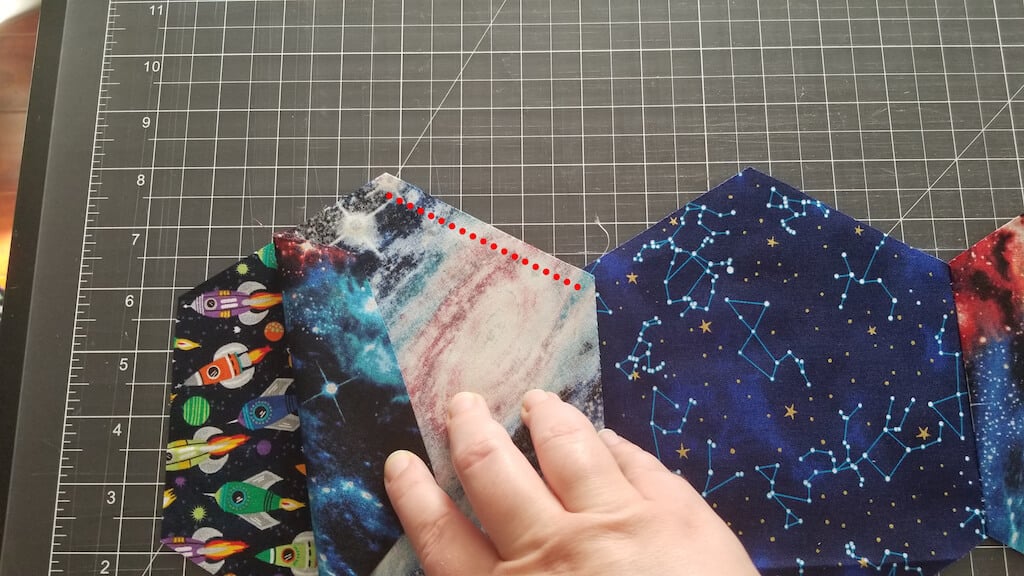
I like first to lay down my first two columns and make sure everything lines up correctly.

Then I flip my first seam over so the right sides are together and stitch my first seam. The red dotted line is the first seam.
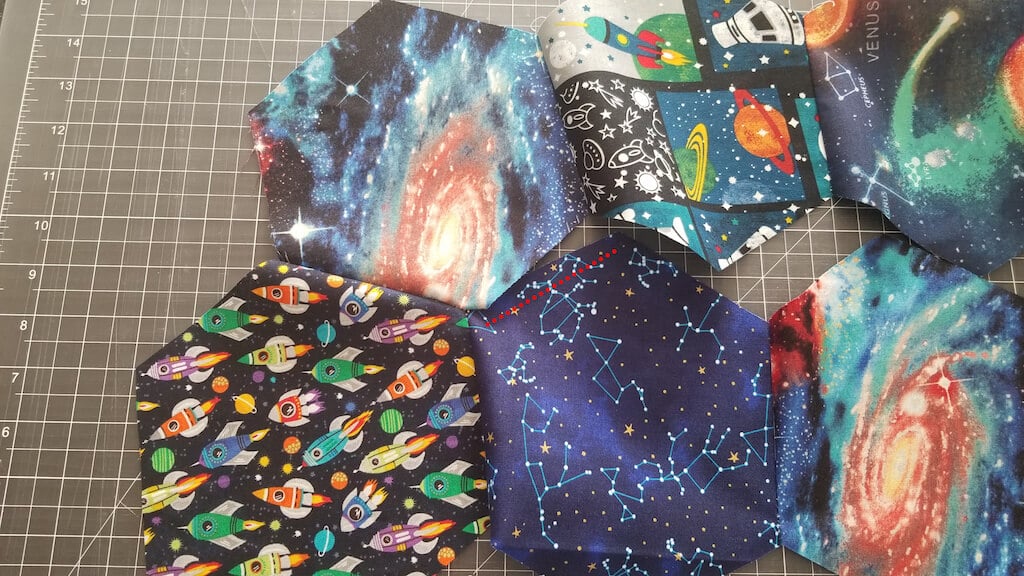
When I flip my column back over, you can see where my next seam should go. They are highlighted by another red dotted line.
Once you have stitched a few seams, this is how the back of your blocks should look.

Continue this step to complete the column, and then attach the rest of your columns.
Remember to line up your columns first to make sure you are starting with the correct seam. If you accidentally start on the wrong seam, don’t worry — it’s nothing your seam ripper can’t fix!
Step 7: Pressing all those lovely little seams.
I know this step sounds tedious, but it makes all the difference if you press your seams correctly. The most important part is the “Y” seam area. There are a couple of ways to get them to lay flat.
I’ve found the way to get them the flattest is by opening up just the “Y” portion of the seam. To do this, I’ll wiggle my finger in between the three different fabrics that meet up in the “Y” to make them “flower out.”
Then very carefully (you don’t want to burn your fingertips), place your iron onto the little “Y” seam flower you have created.

For the rest of the regular seams, I like to press them to one side, keeping them as uniform as possible. But if I have a seam that really wants to lean in the “wrong” direction, then I’ll allow it.
Step 8: Trim excess fabric.

As you can see in the photo above, some extra points and half hexagons are sticking out on the perimeter of the quilt. You will want to trim all that off using a straight edge ruler and a rotary cutter to give you nice straight edges to finish off your quilt.

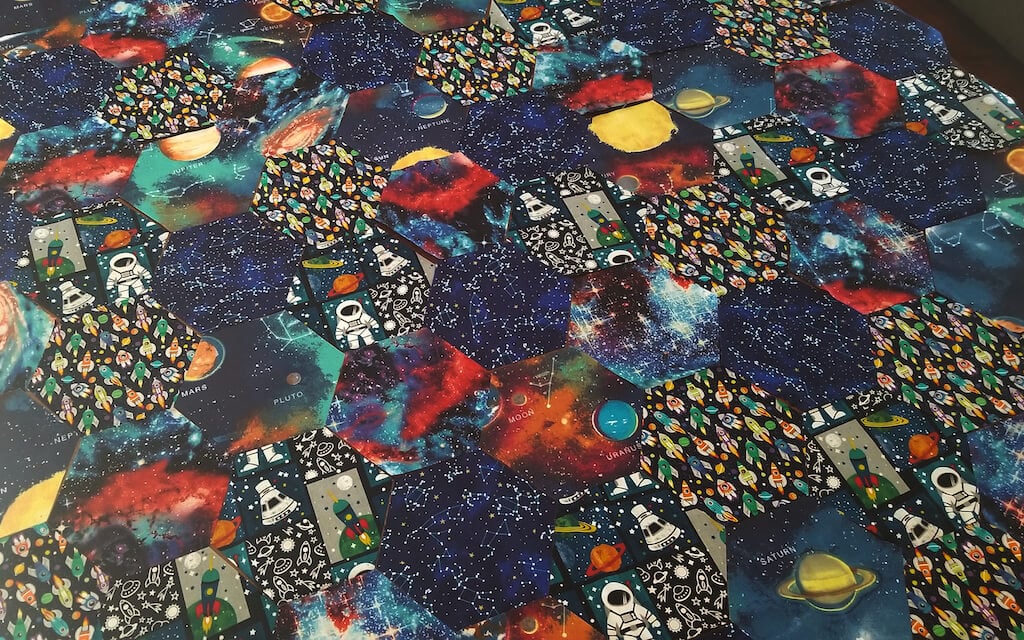
And there we have it! A gorgeous, exciting quilt top put together and pressed to show off all those perfect, crisp “Y” seams. You can quilt and bind this project however you would like.
I like to mimic the hexagon shape with my quilting. It gives it a nice modern feel and allows the hexagon shape to shine even brighter.

thank you so much! I am going to give it a try
Awesome, Vickie! Good luck!
I’m making a 6 inch hexagon quilt. I do not want to sew my rows together. I want to put a sashing between.
I have been searching for 2 days to get instructions how to. So if you or anyone who sees my post could email me. I would greatly appreciate it.
Sincere,
Jacque C. In T.C MI.
Hi, Jacque. Hmmm…I am not quite sure I understand your question. Do you want to add sashing between the rows of hexagon blocks? That is indeed going to be tricky and you won’t be able to avoid the “y” seams. You would basically need to cut sashing pieces to fit all of the edges and then attach each block that way.