
So you’ve just finished constructing a beautiful quilt top that took many hours, and now you need to quilt it.
But what do you do?
Instead of sending it off to a longarm service or doing basic straight-line quilting, you want to do some unique decorative designs. But how?
This post will cover a fun, unique way to add gorgeous free motion-like stitching to your quilts.
I’ll teach you the simple steps to accomplish the stitches and show you some great choices of quilt stencil patterns.
What Are Quilting Stencils?
Quilting stencils are excellent tools that you can use to create beautiful, intricate quilting designs.
They are usually made from flexible plastic sheeting with a design cut into it that you can use as a stencil.
You can use quilting stencils for machine quilting or hand quilting, and they come in all shapes, sizes, and designs. Some stencils are explicitly made for use on quilt borders, and others will help you perform free-motion quilting all over a quilt top.
What Are the Best Quilting Stencils for Beginners?
Let’s discuss some things you should look for when shopping for your first quilting design templates or stencils.
First, you want to look for simple designs. I know the highly intricate designs are tempting, but when starting, you should focus more on learning the basics of free-motion quilting and how to use the stencils properly. Vines or simple flowers would be a great start.
Second, if you plan to trace the stencils onto your fabric using a marker or pen, ensure the gap for the design is large enough for the tip of the marking tool.
Third, you should figure out what marking tool is best for you. Some people like to use a water-soluble pen or marker. Others like using a pencil or loose chalk in a pounce pad.
Now let’s look at five beginner-friendly quilting stencils that I’ve gathered for you.
These stencils will allow you to create beautiful stitch designs, even if you are new to quilting.
2. I Love It! Heart Stencil
This adorable stencil will help you create this fun heart free-motion design. If you look closely, the opening of the design on this stencil isn’t large enough for a marker or pen, so you’ll need to use a chalk pounce pad to transfer the design onto your fabric.
More Related Articles
19 Of The Most Popular Jaybird Quilt Patterns On Etsy
24 Deliciously Beautiful Layer Cake Quilt Patterns
All About Jelly Roll Race Quilts And 15 Easy Patterns To Try
How to Use Quilting Stencils: A Beginner's Guide
Now that you’ve got a better idea of what quilting stencils are and some examples of what is possible in the world of free-motion quilting stencils, I want to take you step-by-step and show you how to use these stencils to decorate a quilt.
You can use these instructions with any stencils you choose to purchase.
Step 1: Choose a Stencil
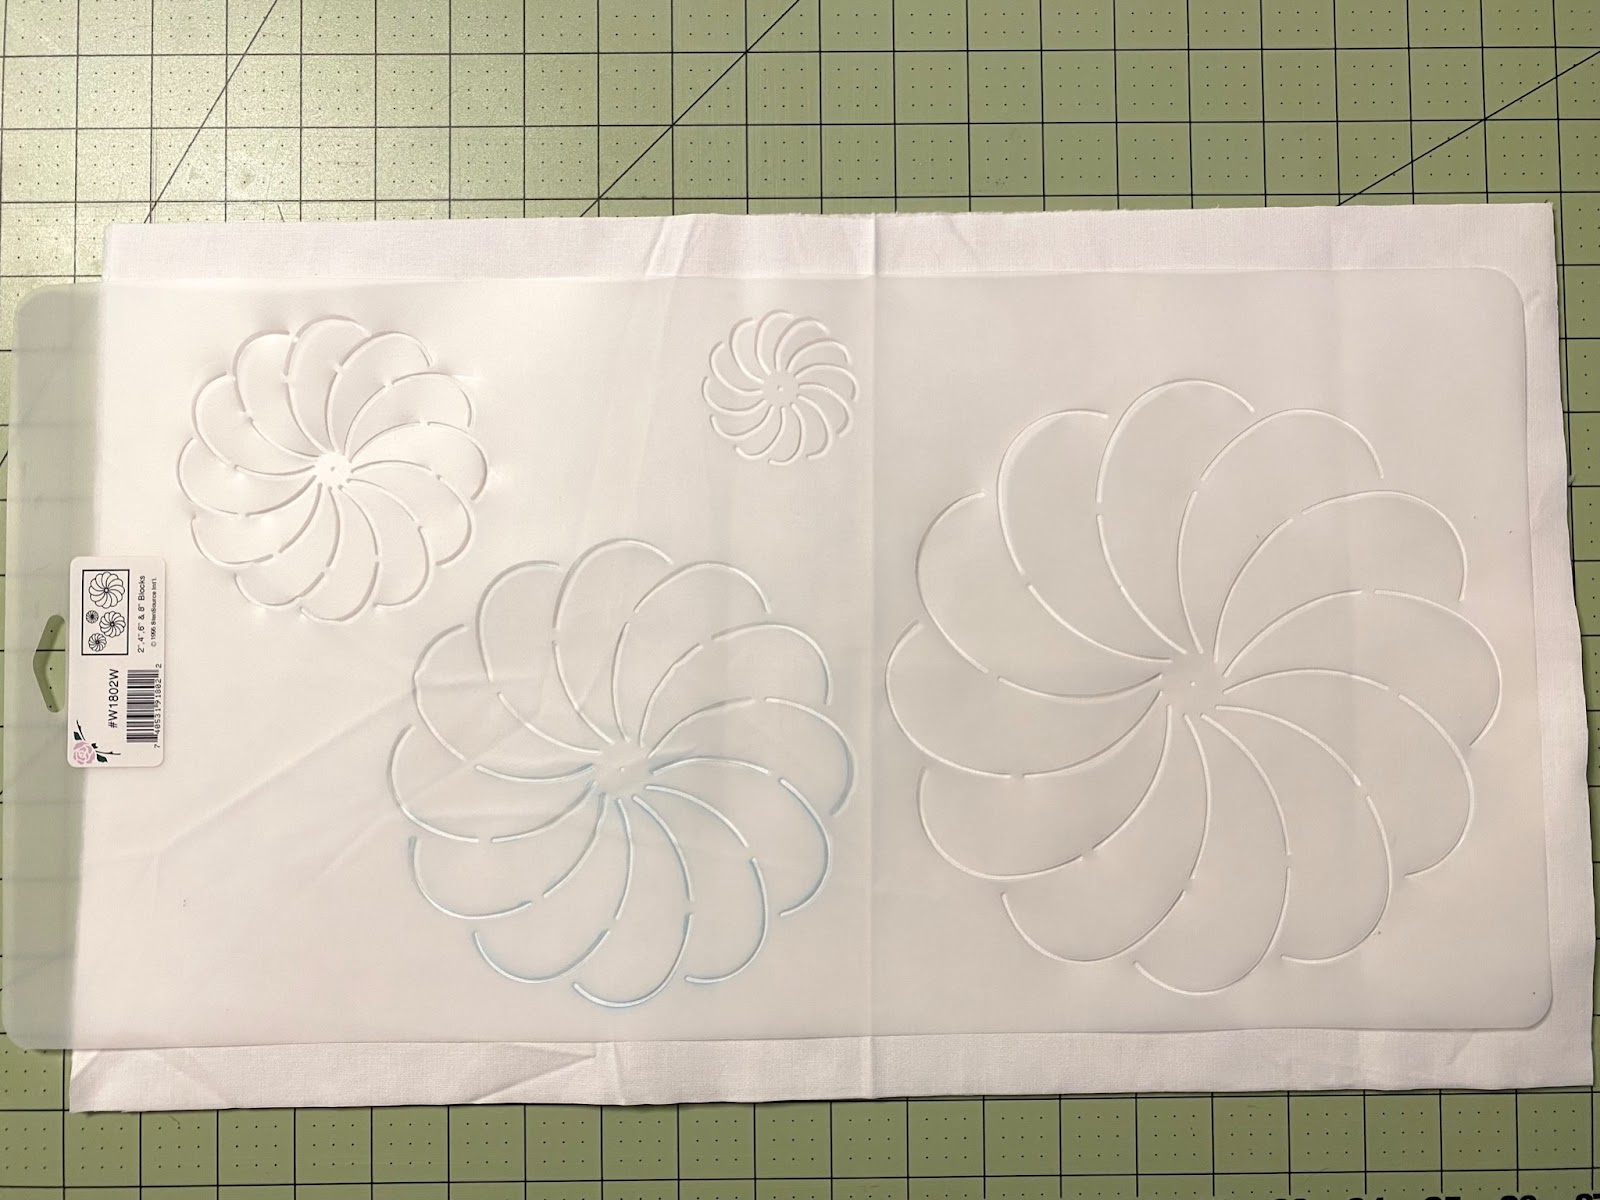
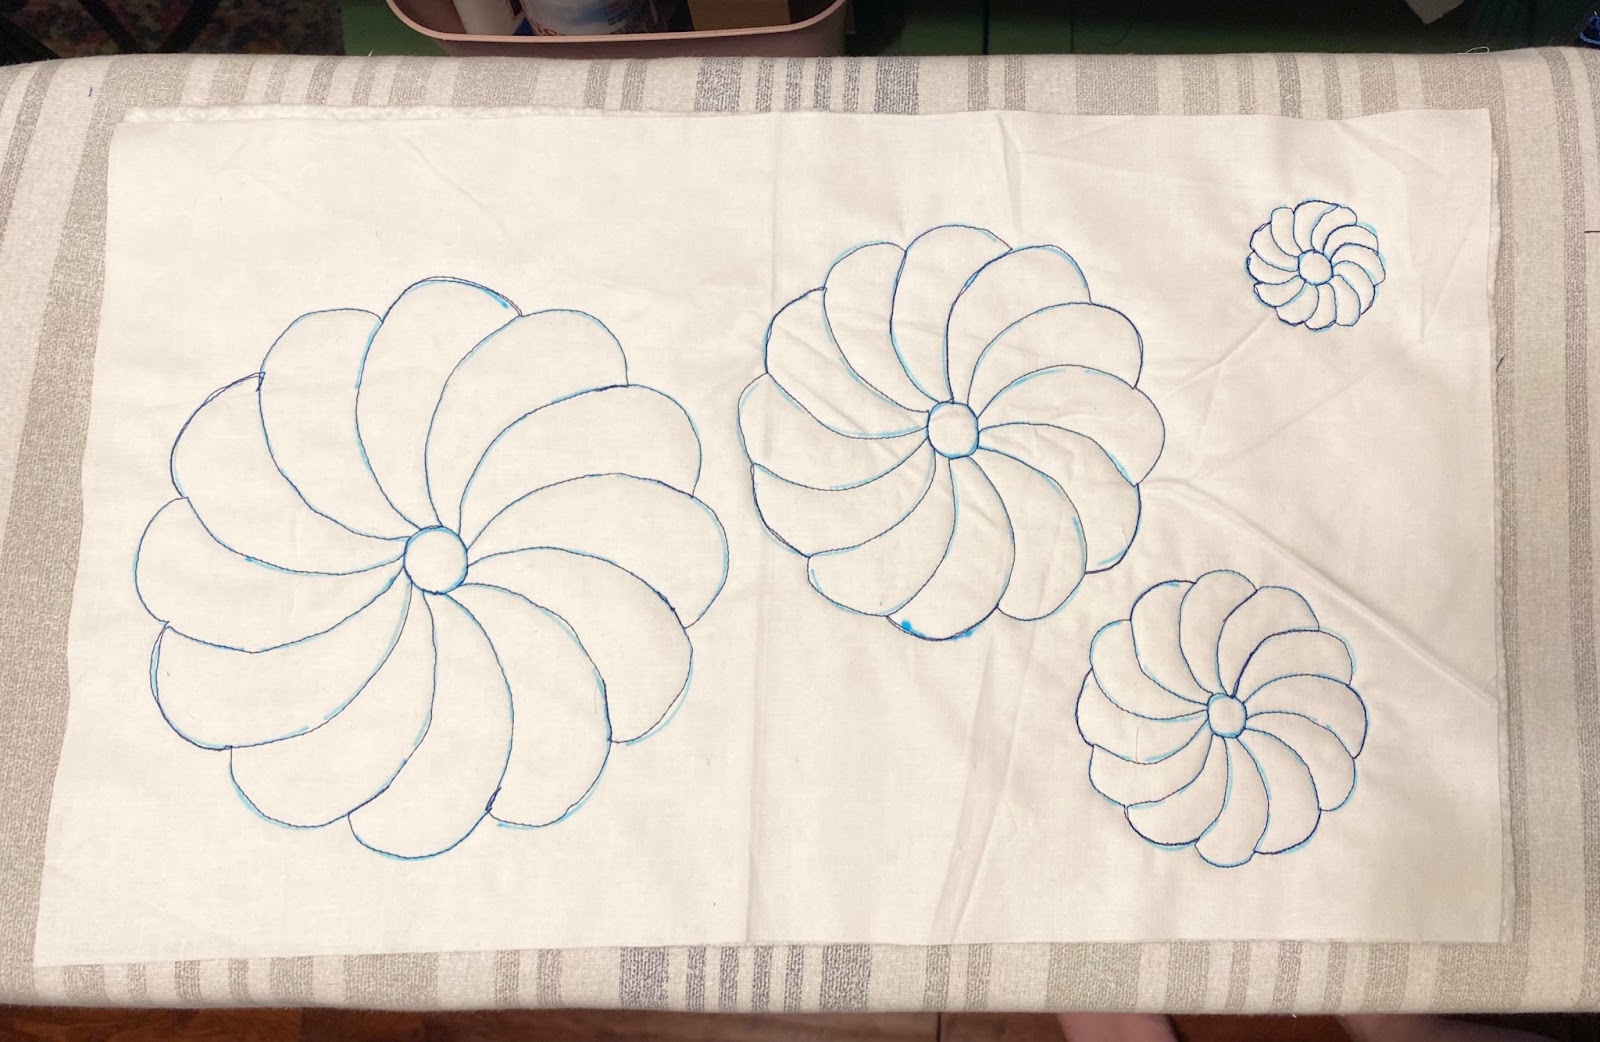
For this example, I will use the flower quilting stencil I’ve had for a few years. This is an excellent beginner stencil, and it has four size options included. I’ll be stitching all four sizes for this example.
I will also use a simple white background and blue thread so you can see the stitches well for the tutorial’s sake.
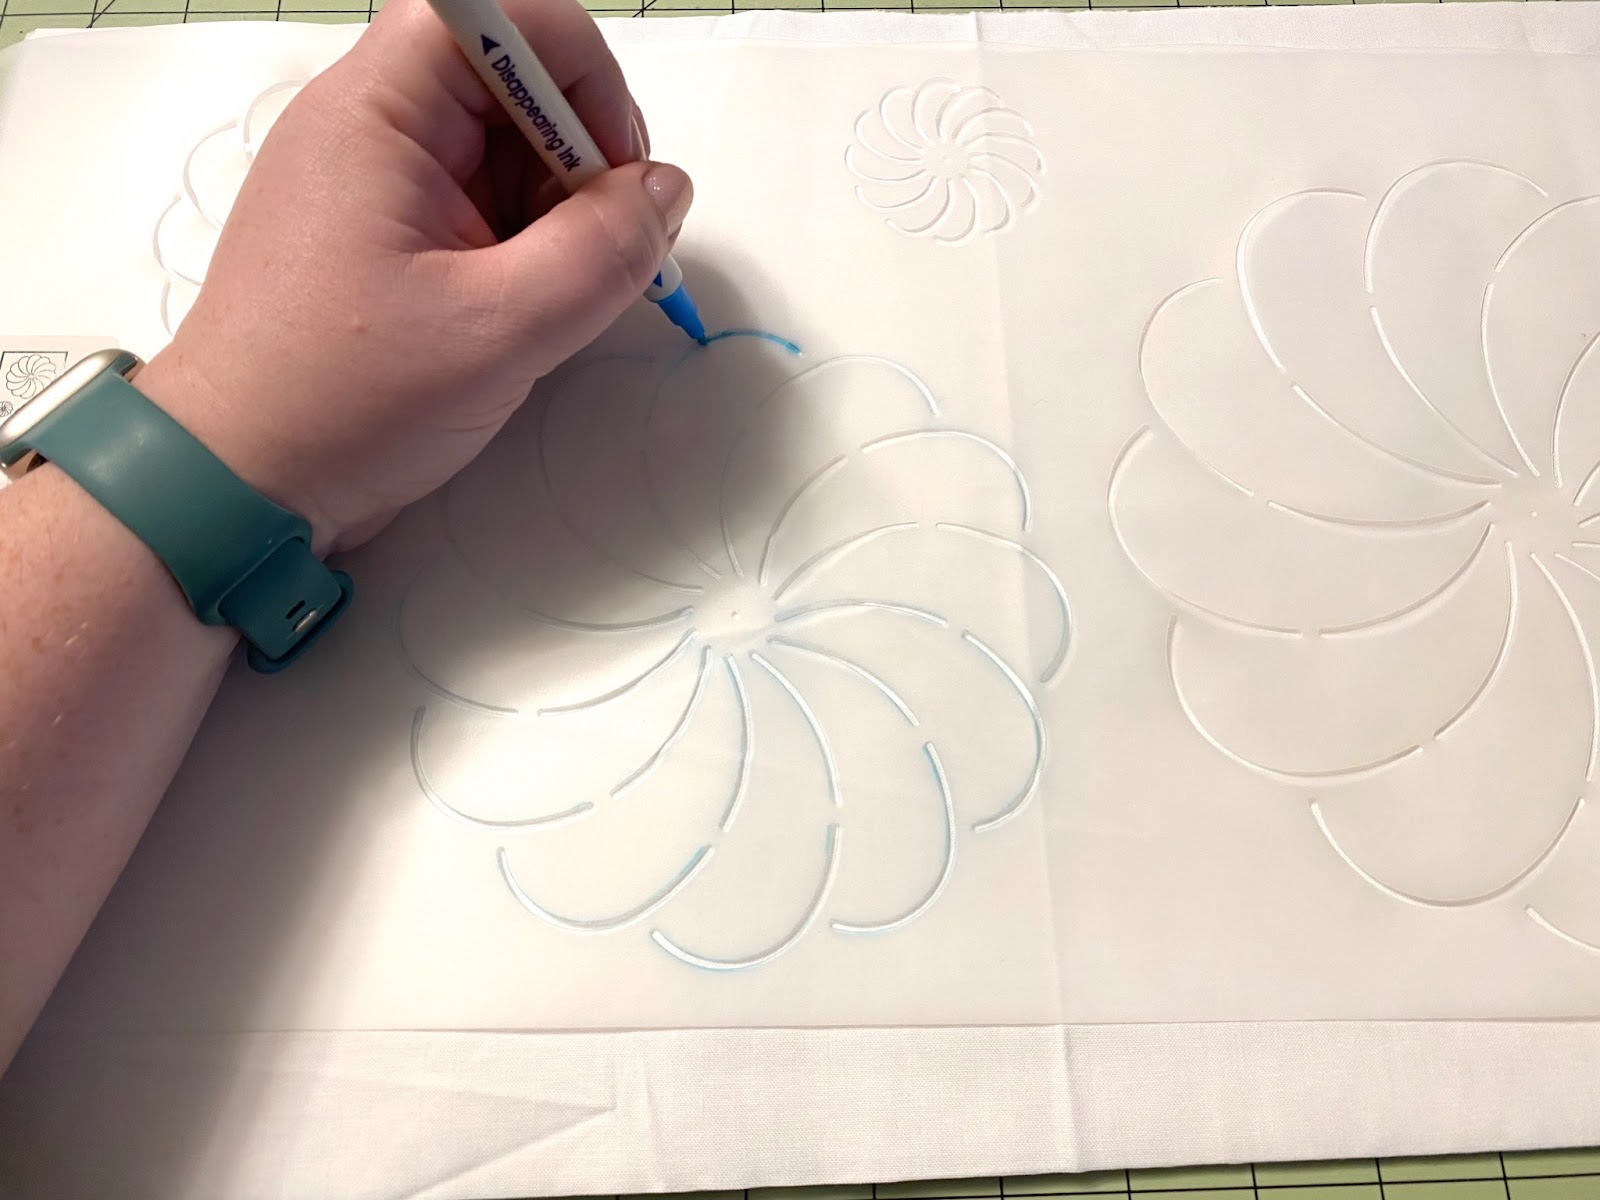
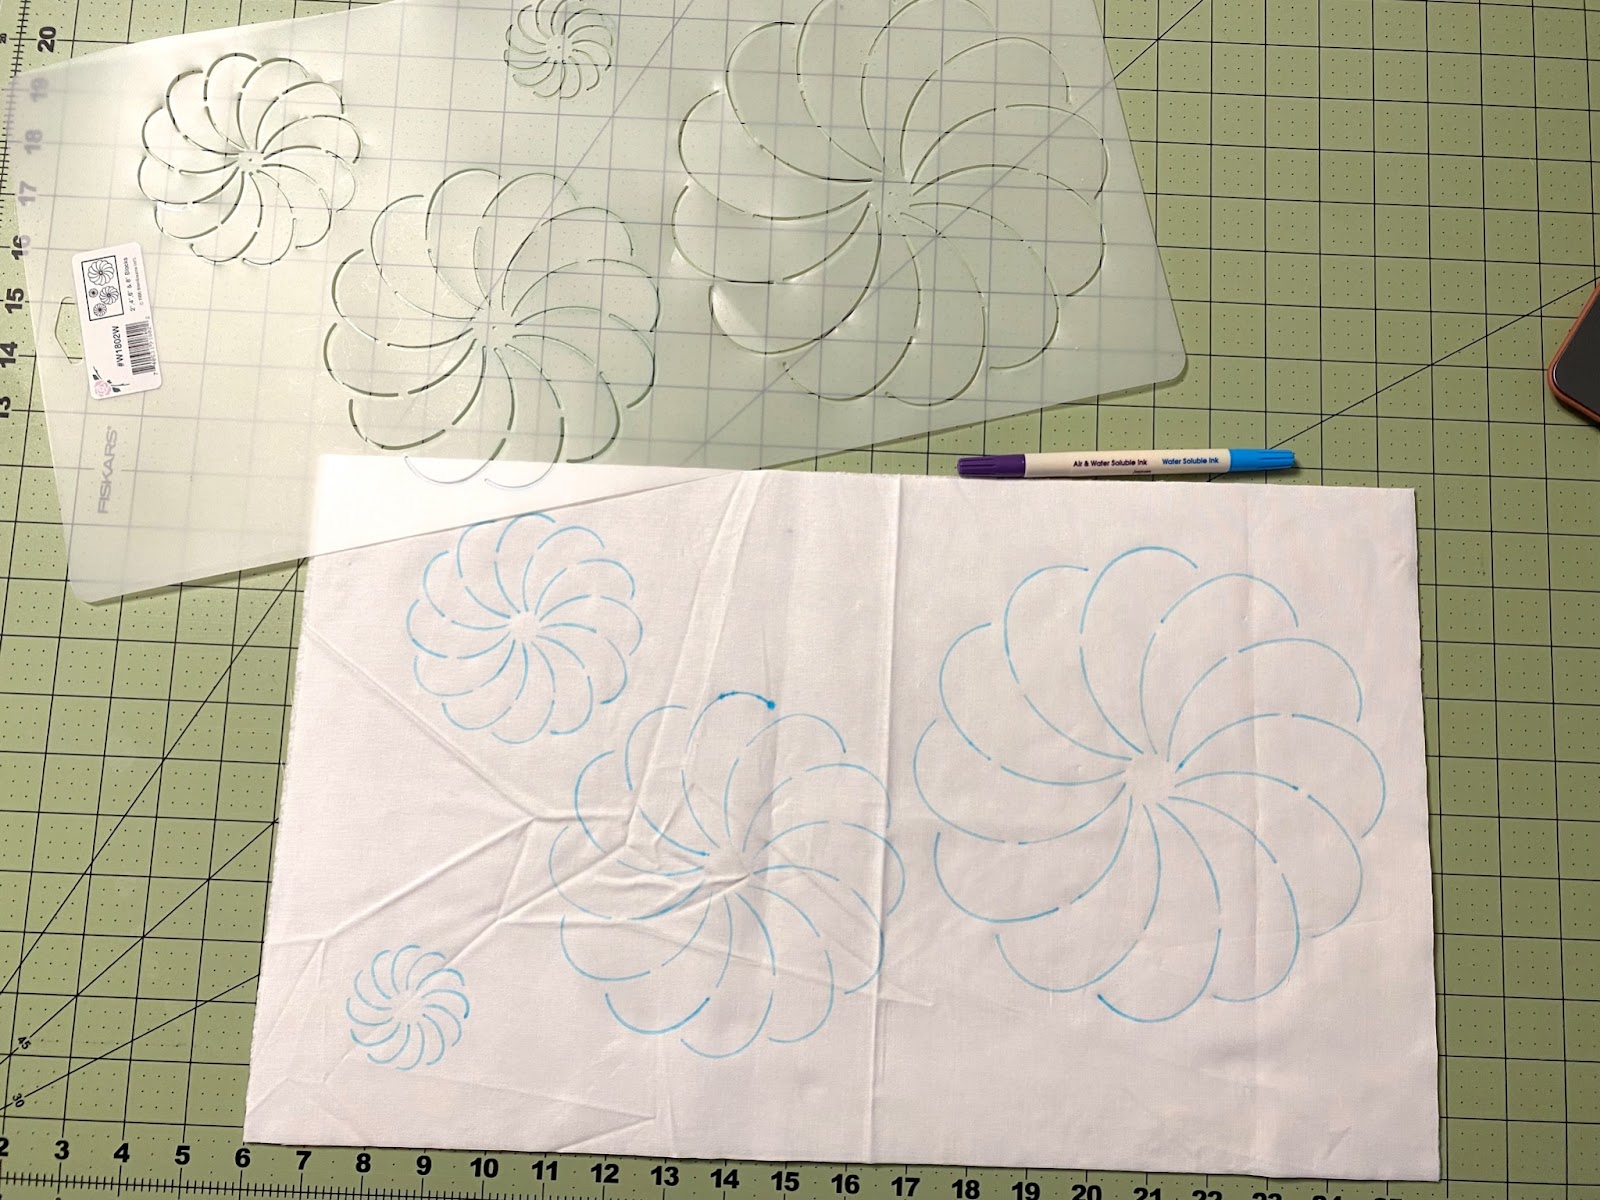
Step 2: Trace the Stencil onto the Fabric
The method you choose to use to trace your stencil is up to you and what your stencil will allow. For example, my stencil’s openings are large enough for the tip of my water-soluble marker to fit through, so I can use that to trace my flowers.
A pounce pad with chalk is another common choice for use with stencils. You simply take the cushion from the pounce pad, get some chalk (like a stamp and ink pad), and gently blot the stencil with the pounce pad.
Make sure you don’t rub the pad over the stencil since this will cause a smudgy line instead a crisp line.
Step 3: Stitch the Design
Take your quilt or practice quilt sandwich to your sewing machine and set it up for free motion quilting.
You need to attach your free-motion quilting foot, drop or cover your feed dogs, lower your stitch length to “0”, and turn the speed down if you have it at a pace you won’t be comfortable with free-motion quilting.
I highly recommend doing a few practice sessions before you start attempting to quilt a finished quilt top. You’ll get a feel for moving the quilt sandwich under the sewing machine needle, and your brain will get used to the hand movements for your specific design.
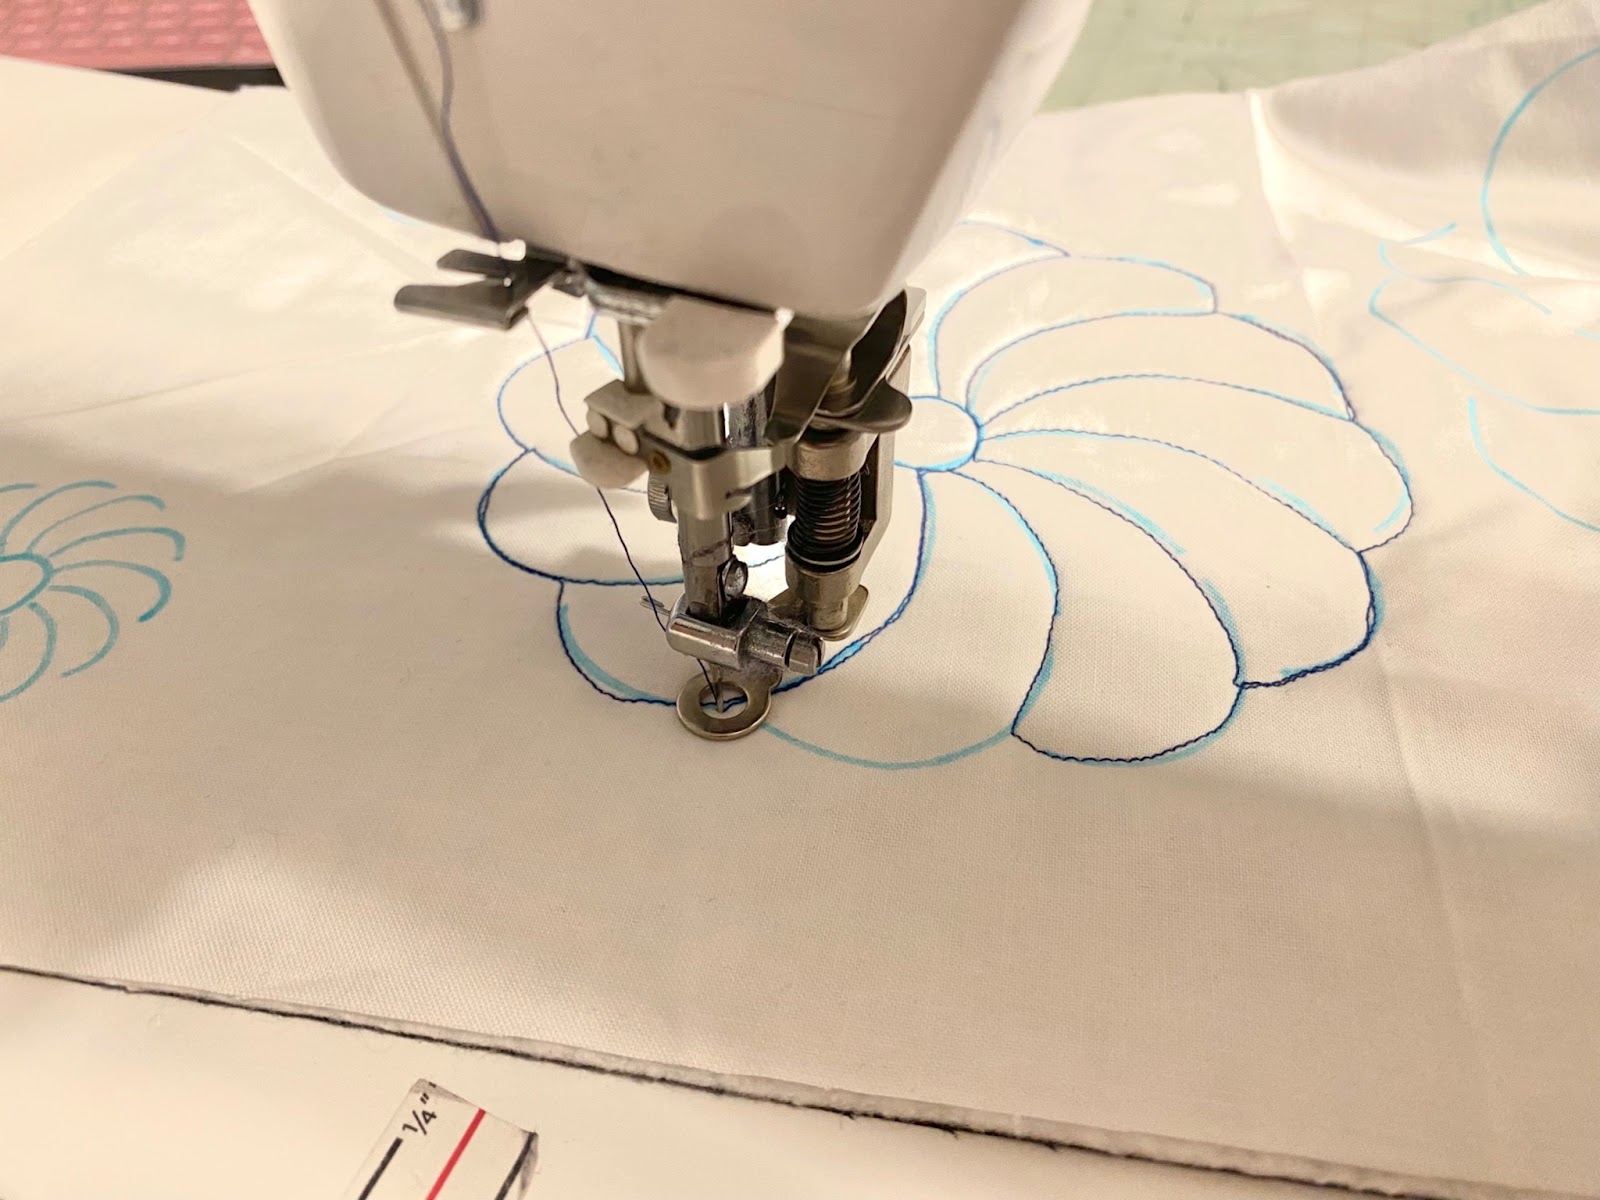
Take it nice and slow and start following the lines of the design. You can stop and start as many times as you need. Don’t rush it; it’s going to take a little getting used to moving the fabric on your own instead of relying on the feed dogs.
The most important thing is to have fun and be patient with yourself. Whether you’re doing it freestyle or using templates and stencils, free-motion quilting is a form of art and should be a joy. If you feel overwhelmed, take a step back and return when ready to try again.
Once you’ve got the hang of using simple stencils like this one, you can branch out and use more complex designs to bring your quilts to the next level.
I hope this has been a fun learning experience for you, and good luck with your stencil quilting adventures!
